There are many ways you can go beyond a cylinder to really express yourself. In this article, we will be walking you through how to make a cylinder, five shapes you can try yourself, and then giving you a pdf to draw on (Download as PDF) so you can evolve your shapes through a series of pictures before trying them on the wheel.
So first you will need to focus on throwing a cylinder:
- To start, place the clay on your pottery wheel, compress and center it onto the wheel using your hands and water,
- then cone up and down with the clay to ensure it is centered and properly compressed on the wheel.
- Once it is centered on the wheel, open down at an angle to make it easier to pull up clay later on.
- After it is opened up fully, and the bottom is compressed, start to pull up, while establishing a thickness with your fingers.
- It is important to compress your lip after every pull to ensure that your rim is even and the same height.
- Collaring in with your hands allows you to make the cylinder even taller, but you should pull the excess clay from the bottom before going on to evolving your shapes.
- Once you have an even thickness, you can move onto altering your cylinder before finishing it on the pottery wheel.
Here is a video by Tim See that takes you through all the steps to throw a taller cylinder.
Now that you have your cylinder there are many things you can do with it. Here are just five ways to alter your cylinder:
 1. Gourd Vase
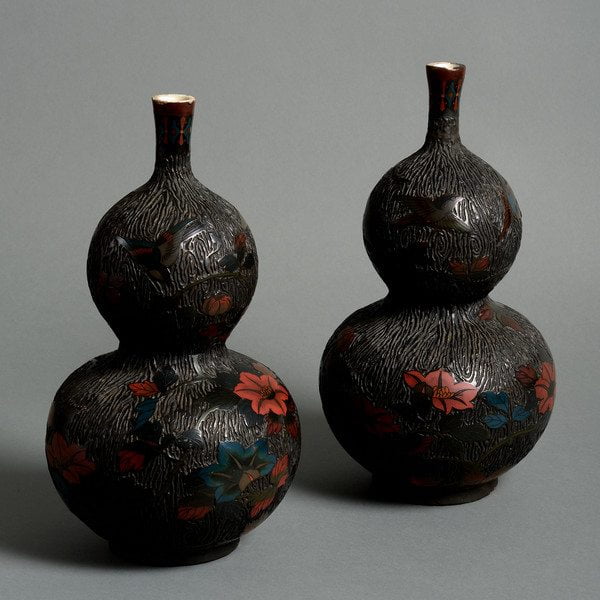
You can achieve this look by using your hands and a rib to curve two sections of the cylinder outwards. These two sections will be emphasized by collaring in the middle between them and then collaring in the neck to make it long and thin. Pulling the neck upwards will bring excess clay up and allow you to achieve an even longer neck.
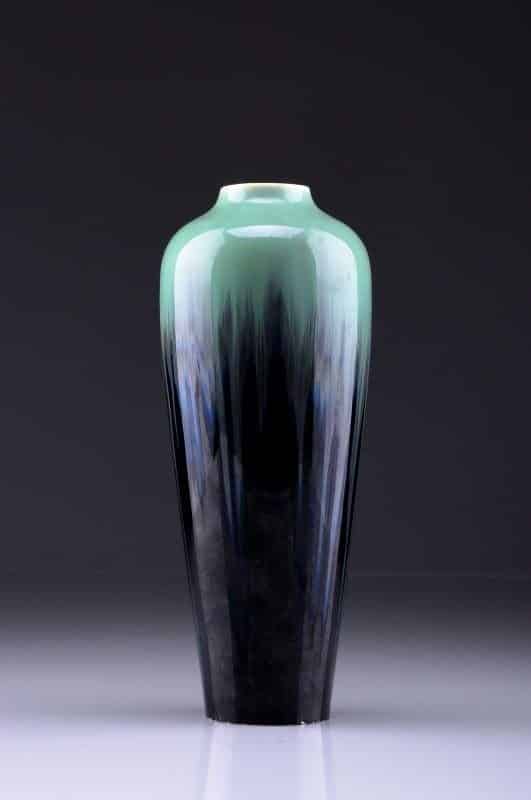
2. Long Necked Vase

This look is achieved by shaping the cylinder to curve inwards slightly at the bottom and then curving outwards as you move up. Once you curve outwards you will then curve back inwards and then start collaring in the neck of the pot. After you collar in the neck of the pot, you can then pull upwards and then collar again to both keep the slope of the neck correct and ensure you aren’t pulling too much. Once you are satisfied with the height of the neck going over it with a rib can clean up your pulling lines and finalize the curve of your pot.
3. Short Wide Rimmed Vase
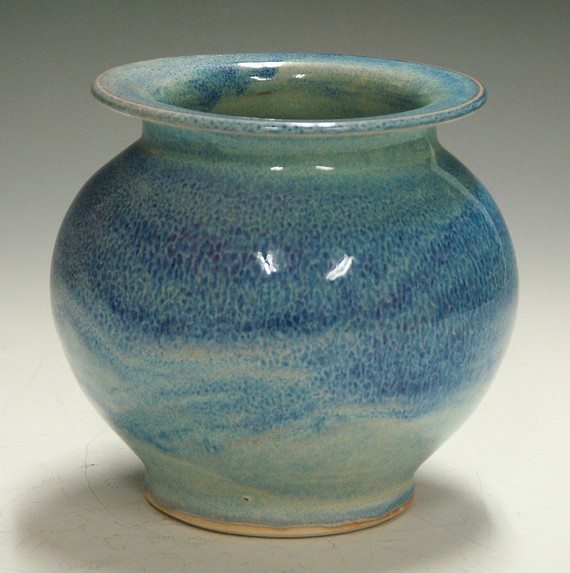
You can attain this shape by curving outwards with your hand and rib to create a very rounded vase. After creating the rounded section collaring in at the rim and then pulling up and to the side will case the rim to lay down and outwards. Be careful not to fuss with the rim too much after this or it will flop down and have to be cut off.
4. Wide Shoulder Vase
This look is achieved through shaping the rim of the pot with your hands and rib to create a defined shoulder. Once that is done then pulling the rim up slightly past the shoulders to create a neck and then cutting away excess clay at the bottom with a wooden knife will emphasize the shoulders of the pot.
5. Wide Vase

You can create this look by using your hand and rib to reopen the cylinder outwards while supporting your hand on the outside to help support the clay. Ribbing the inside and outside will help create a more symmetrical shape. Don’t forget to compress and clean up your lip to ensure it is level and smoothed out.
6. Altered Vase
You can take any of these shapes, and alter them even further. Now it’s time to design your own alternative looks for your cylinder with our PDF! Check out and download the PDF here, and start creating your own unique shapes both on the pictures and on the wheel. Spend some time creating different shapes, and then try to alter the shapes, see if you can cut bits out, or if you can add some handles. If you decide to add handles, draw on the worksheet to see which shapes fit best to your cylinder. Once you do this a couple of times, you will start to understand more about your own specific style.
Don’t forget to join our newsletter below for more weekly tips and tricks 🙂


Responses