
When we first start exploring clay, we want to dive right in, throw a ball of clay on the wheel, and get straight to work! We cut a chunk of clay off the block, only to find that it’s stiff in some places and too soft in others, and nowhere near a nice shape. You could pound it on the table a couple of times to round out the edges but this would only be a superficial fix. To truly get your clay into workable form, you need to wedge it.
Wedging is a preparation process that is vital to your practice, whether you are a thrower or a hand builder. Often likened to kneading bread dough, wedging helps to wake the clay up. While it’s a seemingly simple task, it actually accomplishes quite a bit! It works to even out the distribution of moisture in your ball of clay, which improves its flexibility (known as plasticity). It works to align the clay particles in the same direction, which adds strength, and it helps to remove those pesky air bubbles that create weak spots in your pots, cause uneven walls when throwing, and that make drying more difficult. Wedging is also great for blending two or more clay bodies together, or adding colorants to your clay.
There are a few different techniques used for wedging, and they vary slightly depending on where in the world you’re practicing. We’re going to focus on the Ram’s Head method today, but no matter which approach you take, wedging is a skill that takes a bit of practice. Don’t get discouraged if at first it feels like a clumsy affair, once you have a handle on your hand positions, posture, and pressure, and you put in some time, you’ll be able to wedge with ease and confidence. And, of course, we’re here to help you get started!
What You’ll Need
- Clay
- Wire cutting tool
- A porous work surface (wood, canvas, or plaster if your clay is very wet)
- A weigh scale
Preparing your Workspace
Wedging can be physically demanding, especially if you’re doing large or many pieces. While you may think of wedging as something you do with your hands, it’s actually much safer and more effective to use your whole body. To facilitate this, having a work surface at the correct height is vital. You’ll usually be wedging from a standing position, so set your surface at waist height. Too low, and your back will be angry with you, too high and you’ll lose strength from your core. You’ll also want to be sure that your surface is stable. If your table is wobbling, you’ll end up working harder. If wedging on a board, clamp it to your table so it doesn’t slide around. Now you are ready to begin!
The Wedging Process
To begin, use your wire cutter to cut a lump of clay. When learning, choose an amount that you can comfortably hold between two hands, about the size of a soft ball or so. This is a nice size to start with as it’s large enough to learn the necessary movements without being too tiring. Weigh your piece, then cut and weigh a few more balls of the same weight for further practice, covering until ready to use. Sticking to the same weight is not strictly necessary, but it makes it easier to get accustomed to the movements and to measure your progress. Plus, if you are wedging for the purpose of throwing, weighing your clay is a huge help with seeing your progress on the wheel too!
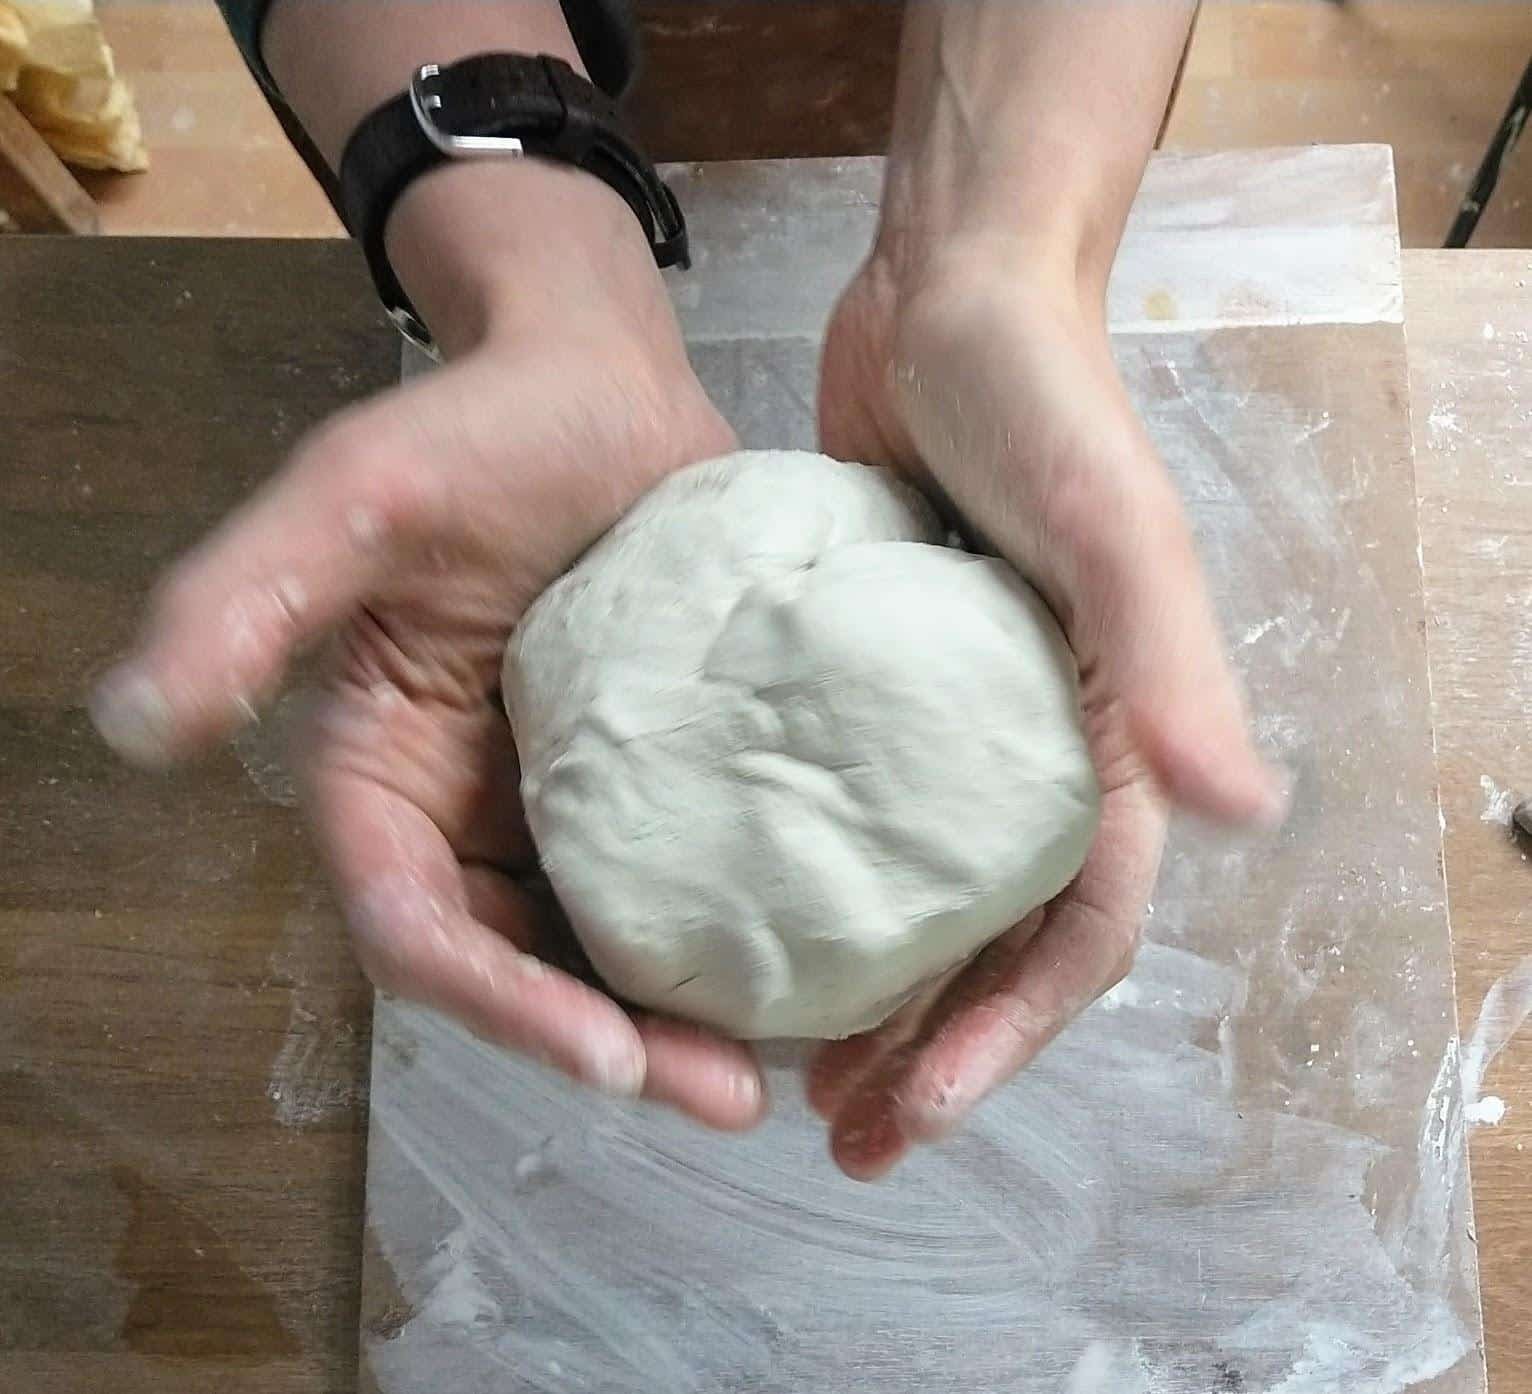
Now that you have your clay ready, take a lump and slam it to your surface a few times to soften up the corners and get it into a roughly round shape.
Bending slightly at the waist with a strong back and core, place the clay between both hands on your work surface, with your thumbs across the top. Focus on exerting pressure inwards from your palms at the side, as well as from the top. This helps keep everything contained and prevents it from turning into a sausage. Now, using the heel of your hands and with the weight of your upper body, roll the clay forward. Next, slightly release the pressure, roll back towards yourself, and roll forward with pressure again. You should start to establish a steady rocking motion.
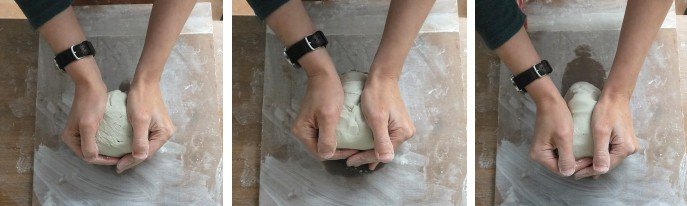
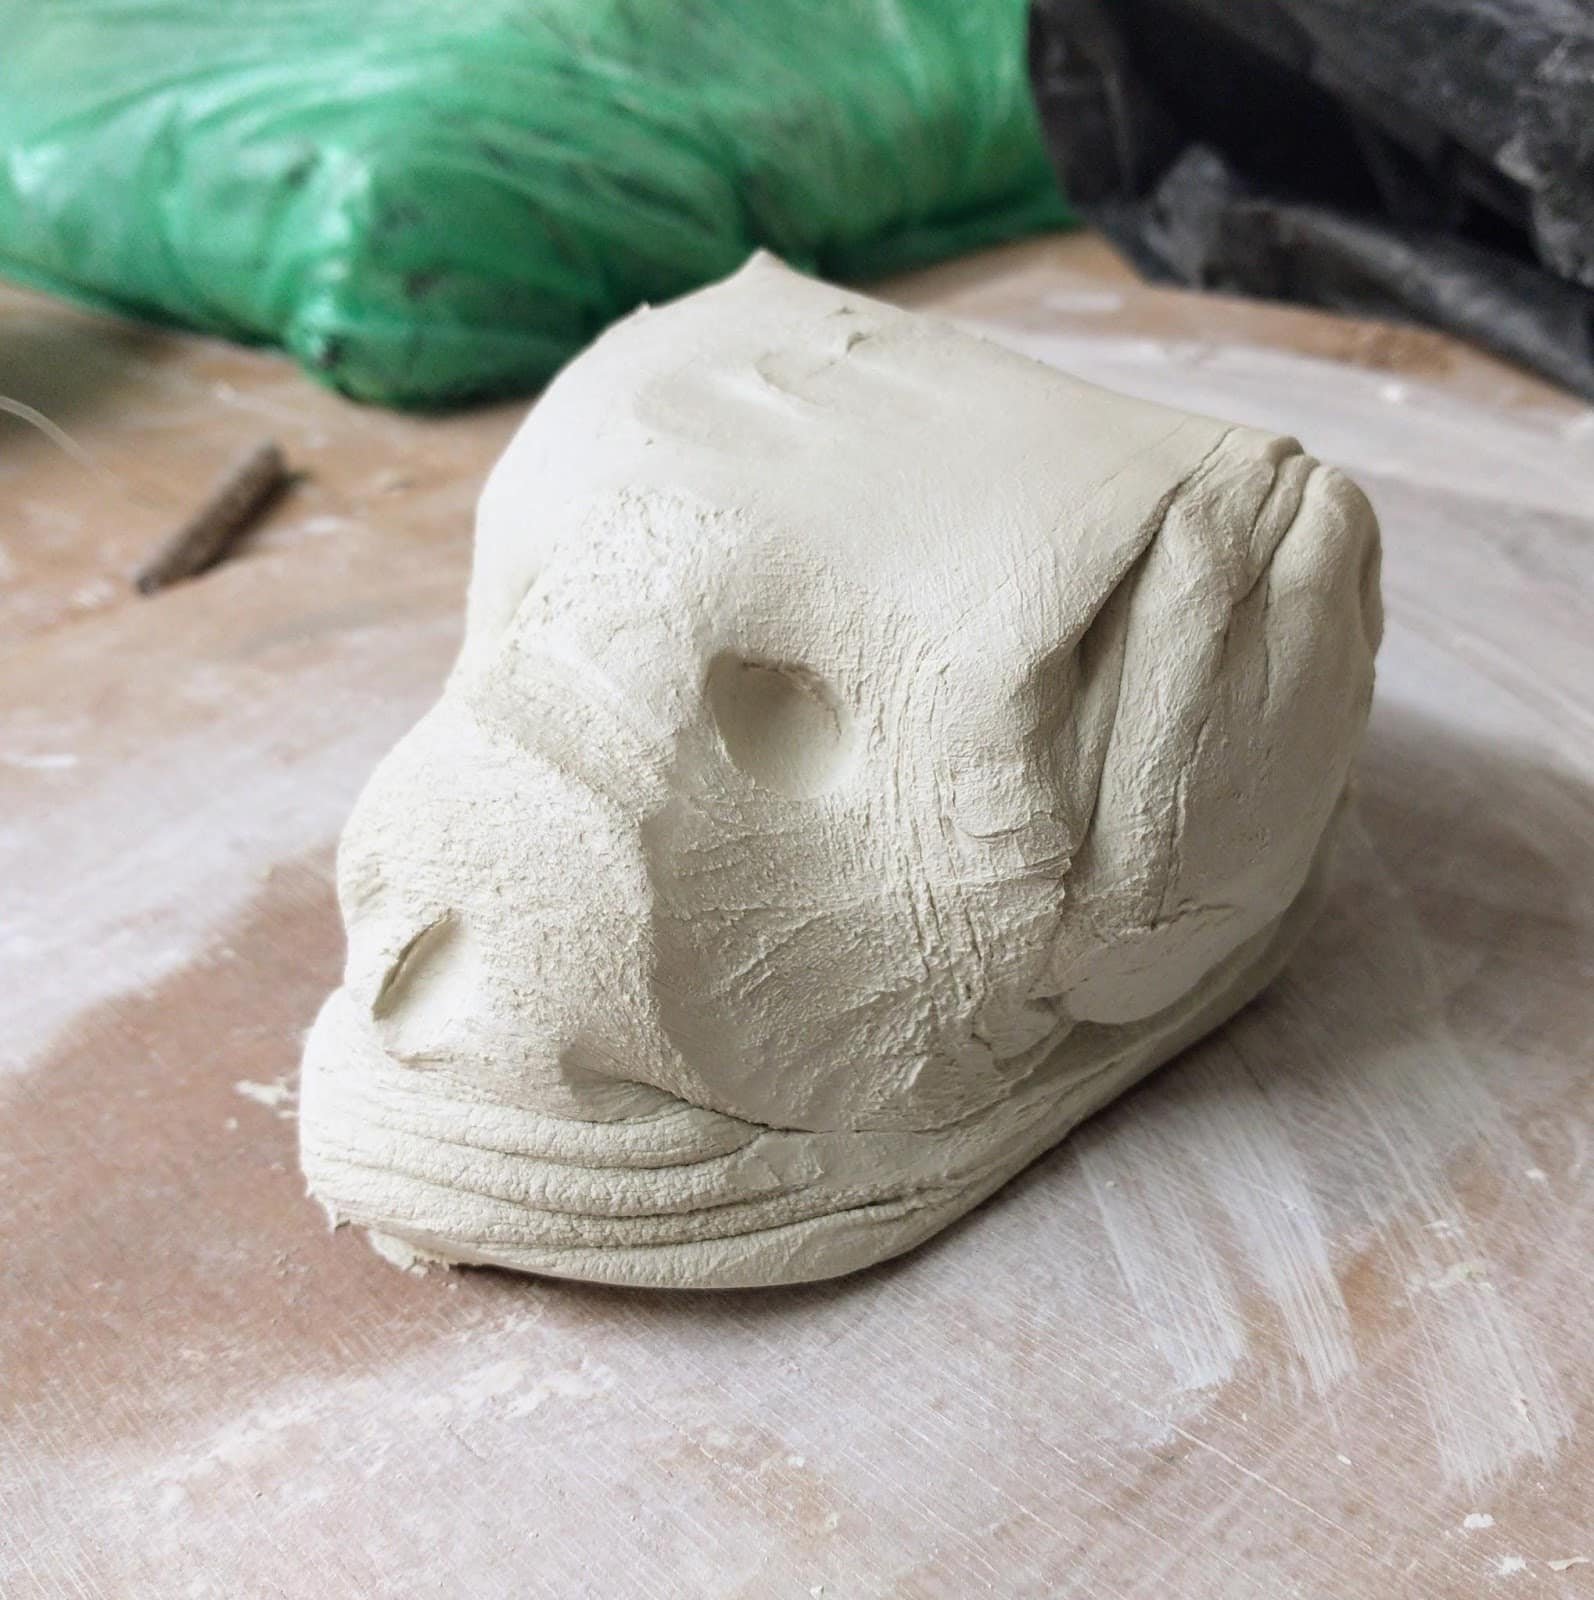
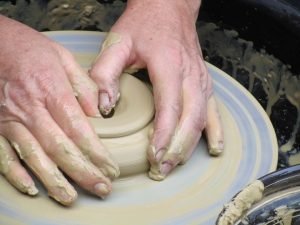
As you go, you should see some folds occurring at the bottom of your ball of clay, and the sides will start to develop a subtle spiral. This is where the method gets its name, as the form starts to suggest the head of a ram (we’ve added some eyes and nostrils to ours in the image below so you can better see what we mean).
The main thing you should be noticing as you go is that the clay feels looser and more even in moisture, which will result in your wedging becoming progressively easier. When you are still learning, we recommend cutting your ball in half with your wire cutter to check for air bubbles. This will also give you a stronger sense of what is actually happening within the clay. If it needs more work, slam your two halves back together, and resume wedging.
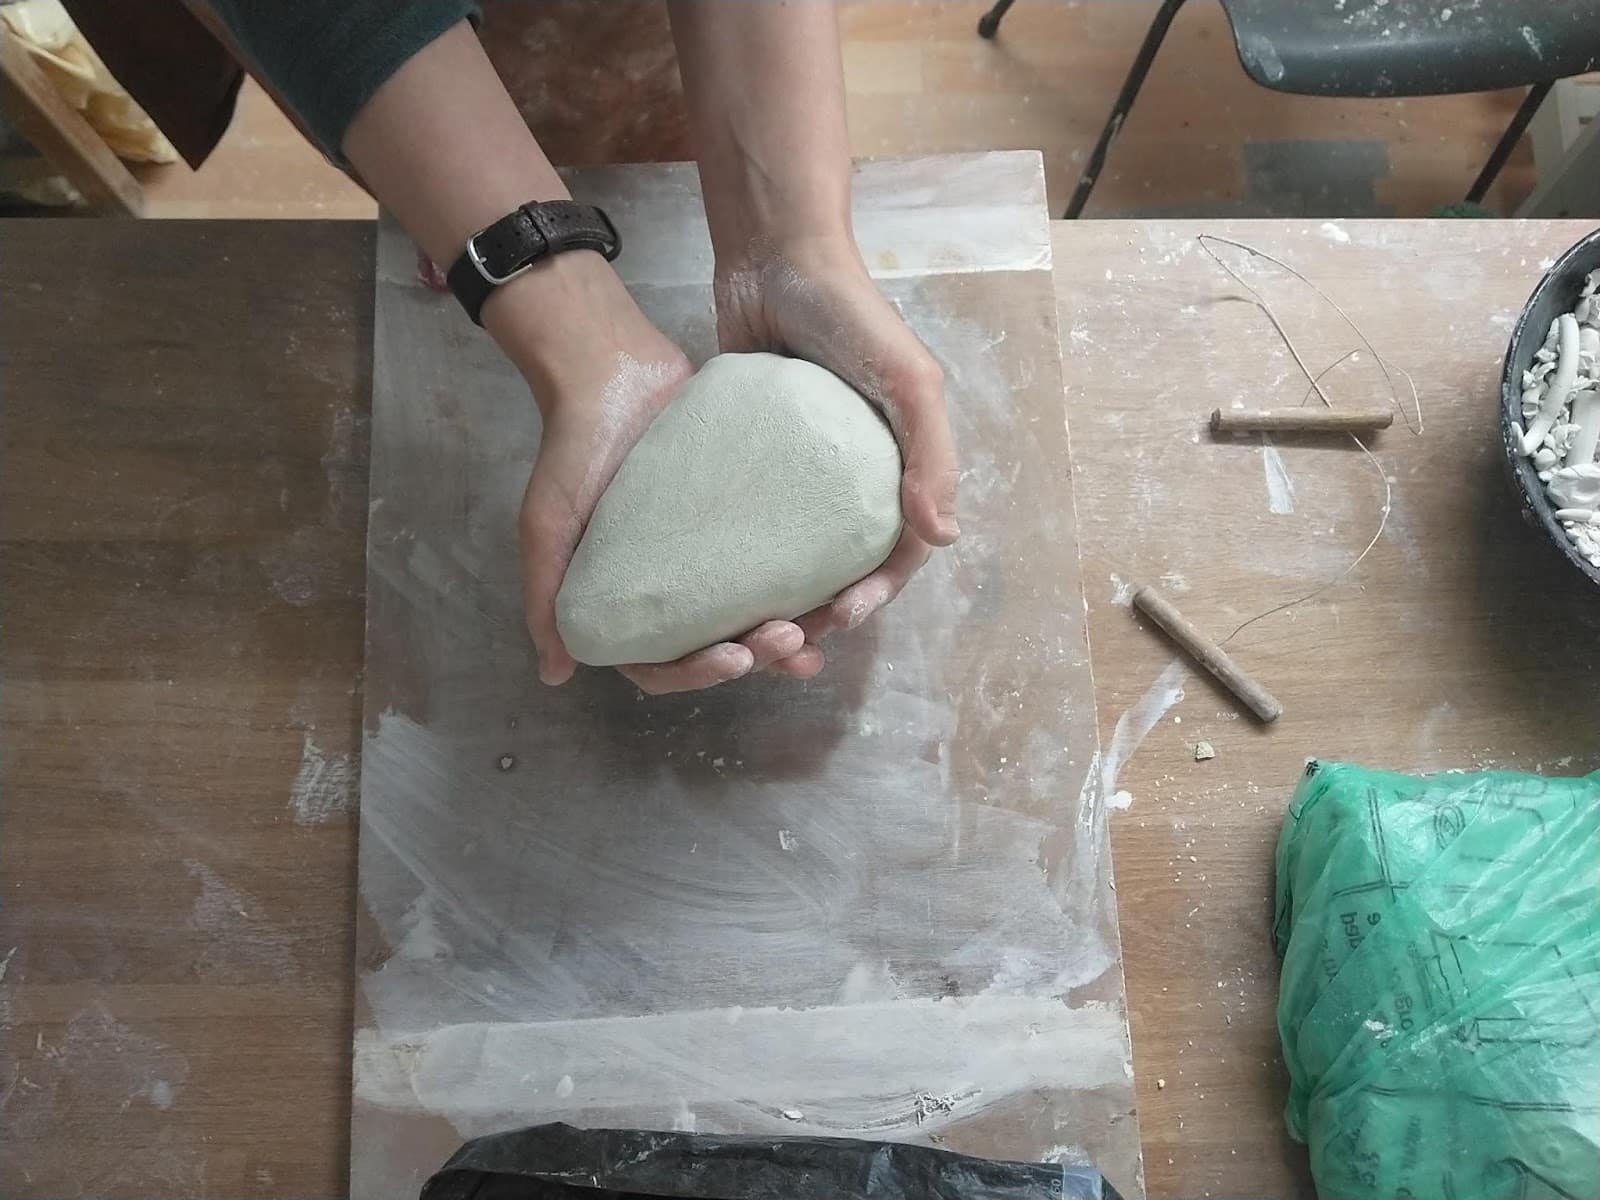
Once your clay feels nice and malleable, with even moisture and no air bubbles, you are essentially done!
Additional Steps for Throwers
When you are wedging with this method, your end form will be fairly cylindrical. Different throwers have different preferences for starting, but you will likely want to modify your wedged clay slightly before it hits the wheelhead. If you prefer starting from a ball, you can simply pat or roll your clay to refine the shape. If a cone is your preference, then gently roll your clay on your surface while putting more pressure on one end, and then pat to finish.
Posture Tips
If you feel your arms getting tired, or that you are lacking strength, try standing with one foot in front of the other, and/or bracing your waist against your table. This will give you more support and stability as you push from your core, and will take some of the pressure off your arms. Remember, you want your whole body to do the work, not just your wrists!
Additional Advice
If your project requires small balls of clay, consider wedging a larger amount, cutting to size after, and patting to adjust the shape. While you might expect that less clay is easier to wedge, there is a point at which it actually becomes harder. This is because it’s more difficult to get your hands into the correct position with so little to grasp.
For really large volumes, you can take an opposite approach and combine two medium sized balls. Wedge each ball until it becomes more malleable, then slam the two parts together, and wedge again to combine. This allows you to work through the initial stiff phase with smaller amounts, making the full amount less laborious.
If your clay is feeling too dry, lightly dampen your work surface as you wedge. The clay will pick up the moisture as you go. A little at a time is best, as too much will make your clay slippery and difficult to work with.
If your clay is too wet, simply wedge on a plaster slab or board, as it will absorb any excess moisture.
You are now all set to begin your wedging journey. While it may seem like a bit of a chore when you are first starting out, if you embrace the process as another skill to hone and master, you will quickly learn to enjoy it as much as any other part of your practice. So roll up your sleeves, cut a chunk of clay, and find your wedging rhythm!
Do you have any tips or tricks you use to improve your wedging experience? Be sure to head over to The Ceramic School’s Community Forum to share your valuable knowledge! And for more info on how to prepare clay, be sure to check out Gareth Mason’s workshop ‘The Fundamentals of Clay Prep and Throwing’ from our 2021 Ceramic Congress.


Responses