“How can I Reclaim Clay?” Are you a ceramic artist looking to reduce your environmental impact while stretching your dollar further at the same time? If so, reclaiming your clay is a great place to start! Any unfired clay that is too dry to be workable can be reconstituted to be used again and again. It’s an essential skill that every potter should know, and we’re here to help you get started. By setting up a very simple system, you’ll be well on your way to making your clay go further.
Reclaiming Clay: To mix or not to mix?
If you are someone who works with several different clay bodies in your studio, you may be wondering: “Do I need to reclaim them separately, or can I mix them together?” The simple answer is: “it depends”.
For the most predictable results, keep everything separate. Have one reclaim bucket for each clay and process them individually. This way you can use your reclaim with the clay and slip you’re already working with.
If you are tight on space, or you are working in a communal studio where it’s difficult to get everyone to remember to separate things out, you may consider mixing bodies of the same firing temperature. For instance, you can have a bucket for cone 3, another for cone 6, and another for cone 10. When doing this, think of your resulting reclaim as a new clay body that should only be used with itself. It will now have a different shrinkage rate, and potentially different color and texture, from each of your other clays.
If you are really adventurous, you can mix everything in one bucket. You’ll have to do a firing test to see what your new concoction’s maturation point is, and what its final color will be. You are making a completely new clay body, so test, test, test!
If you are doing either of the 2 mixing approaches, it’s important to keep in mind that every batch of reclaim will be slightly different. Afterall, your bucket will likely fill with different proportions of your regular bodies each time. So, if you are someone who prefers predictability, we recommend separating your clays and reclaiming them each individually.
What You’ll Need for Reclaiming Clay
-Lidded Bucket*
-Pillowcase
-Utensil for stirring (a spatula, wooden spoon, wooden stir stick)
-Plaster slab or board
-Water
-Marker and masking tape for labeling
-Wire cutting tool
*While it’s easy to think bigger is better, consider what weight you can comfortably lift when choosing a bucket size. It will be full of wet clay when it’s time to empty it, which gets heavy fast! 10L-20L usually works great.
Setting it All Up
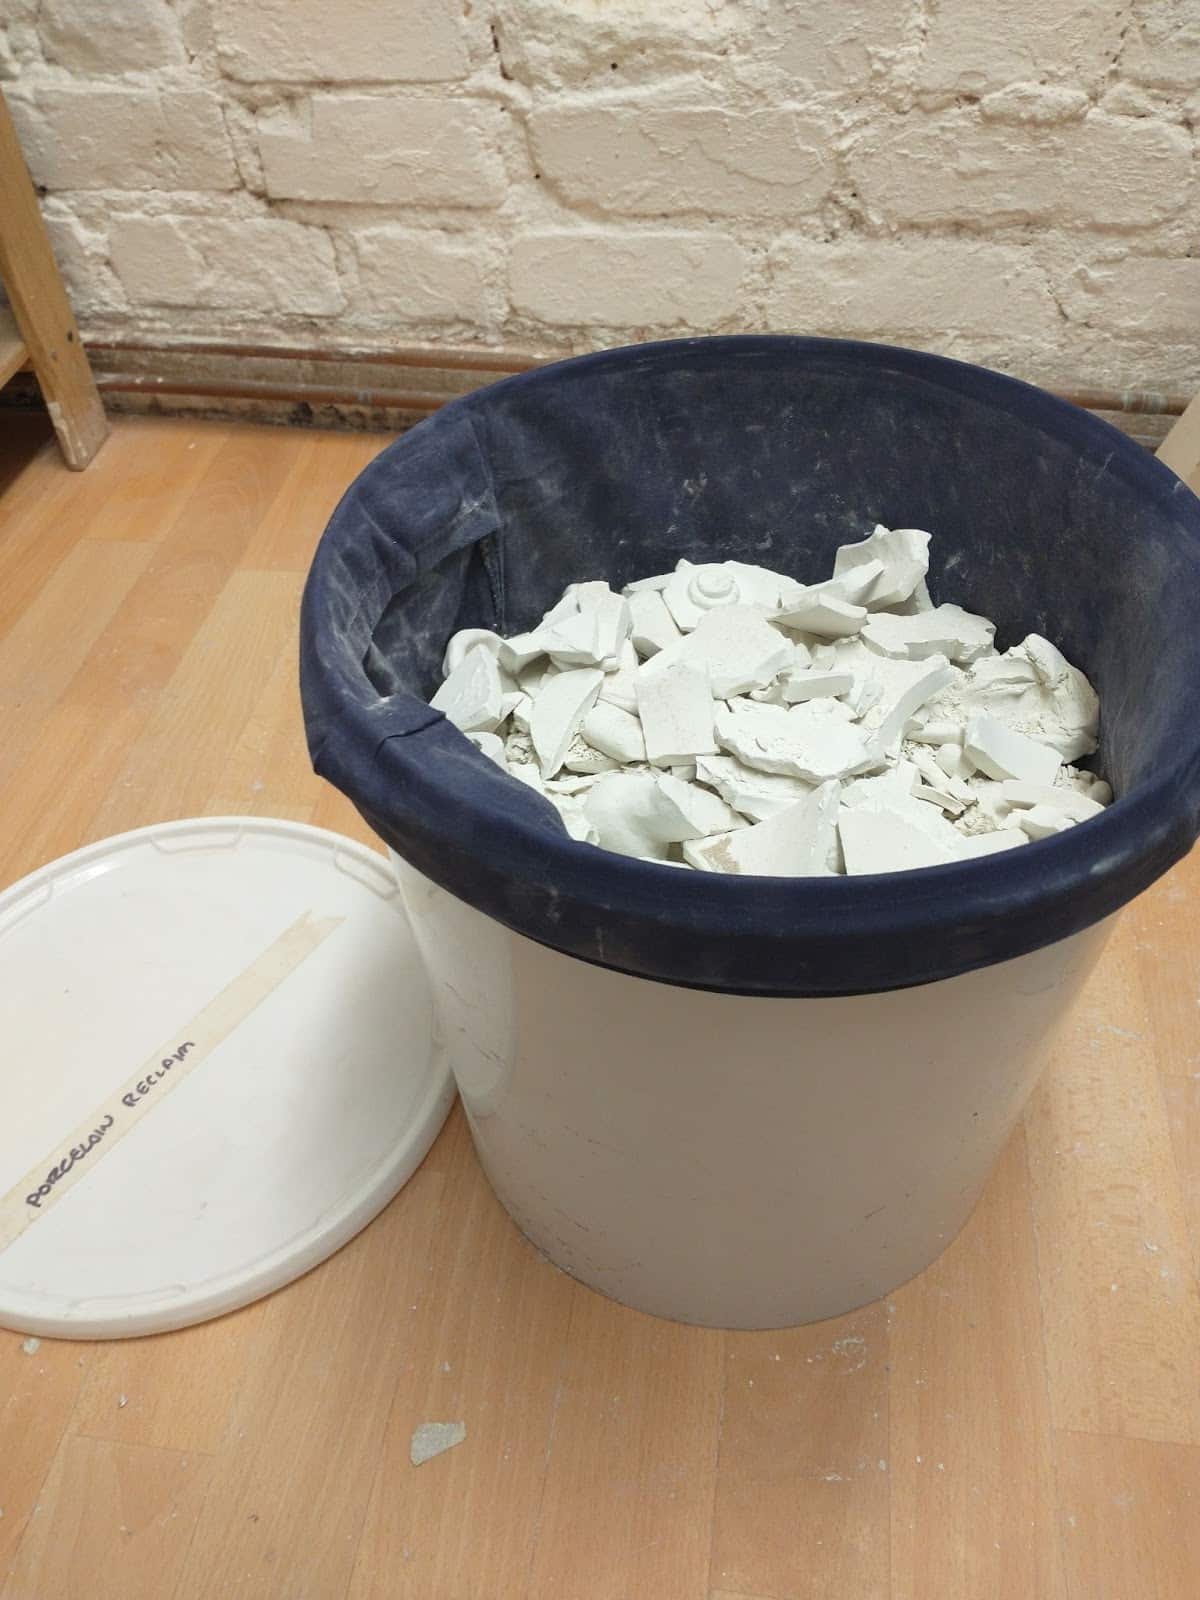
Begin by lining your bucket with your pillowcase, and clearly label it with the desired clay body. Store it in an easily accessible location, as you’ll be adding to it regularly. It will serve as your scrap bucket as well as your reclaim bucket. As you work, save all your scraps. For best results, break them into small pieces as you add them to your bucket as this will help them break down more easily later. Leave the bucket uncovered so that the pieces can dry out. As you discovered while making slip, dry clay breaks down easier than wet, so doing this will help speed along the process. If your scraps are dry and you are not going to be creating new ones for a while, cover your bucket to avoid contamination.
Time for a Soak!
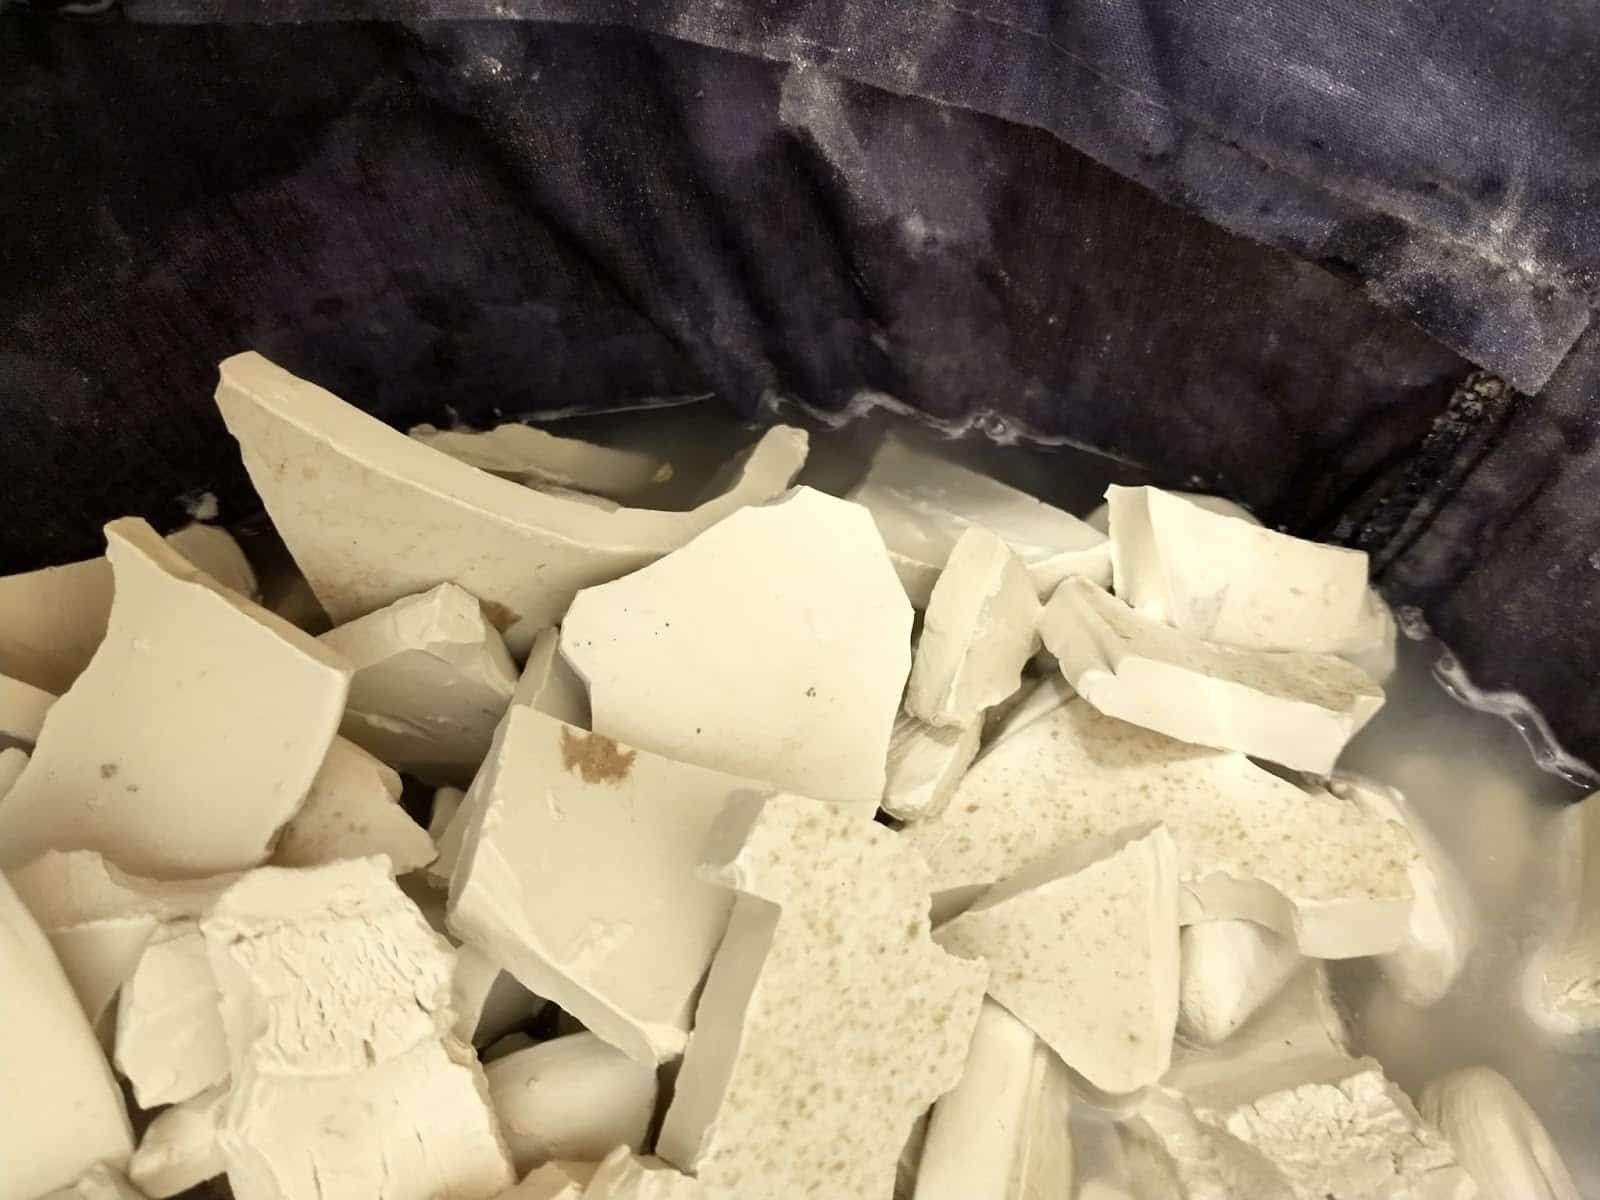
After several weeks of busily working, your bucket is now full of dry scraps, and you are ready to start the reclaim process! Place your bucket somewhere where it will be comfortable to stir regularly, without being in the way of your regular workflow. Begin to pour water into your bucket, pausing occasionally to let it absorb. Once you can just begin to see the water level below the top layer of the clay, let it rest. It may seem as though this isn’t enough water, but as the clay begins to break down, the water level will begin to rise, and you’ll realize that there was more in there than you thought. If you find later that you were too cautious, you can always add more! Now simply let the clay break down, or “slake”, overnight, leaving it uncovered.
Let’s Get Mixing!
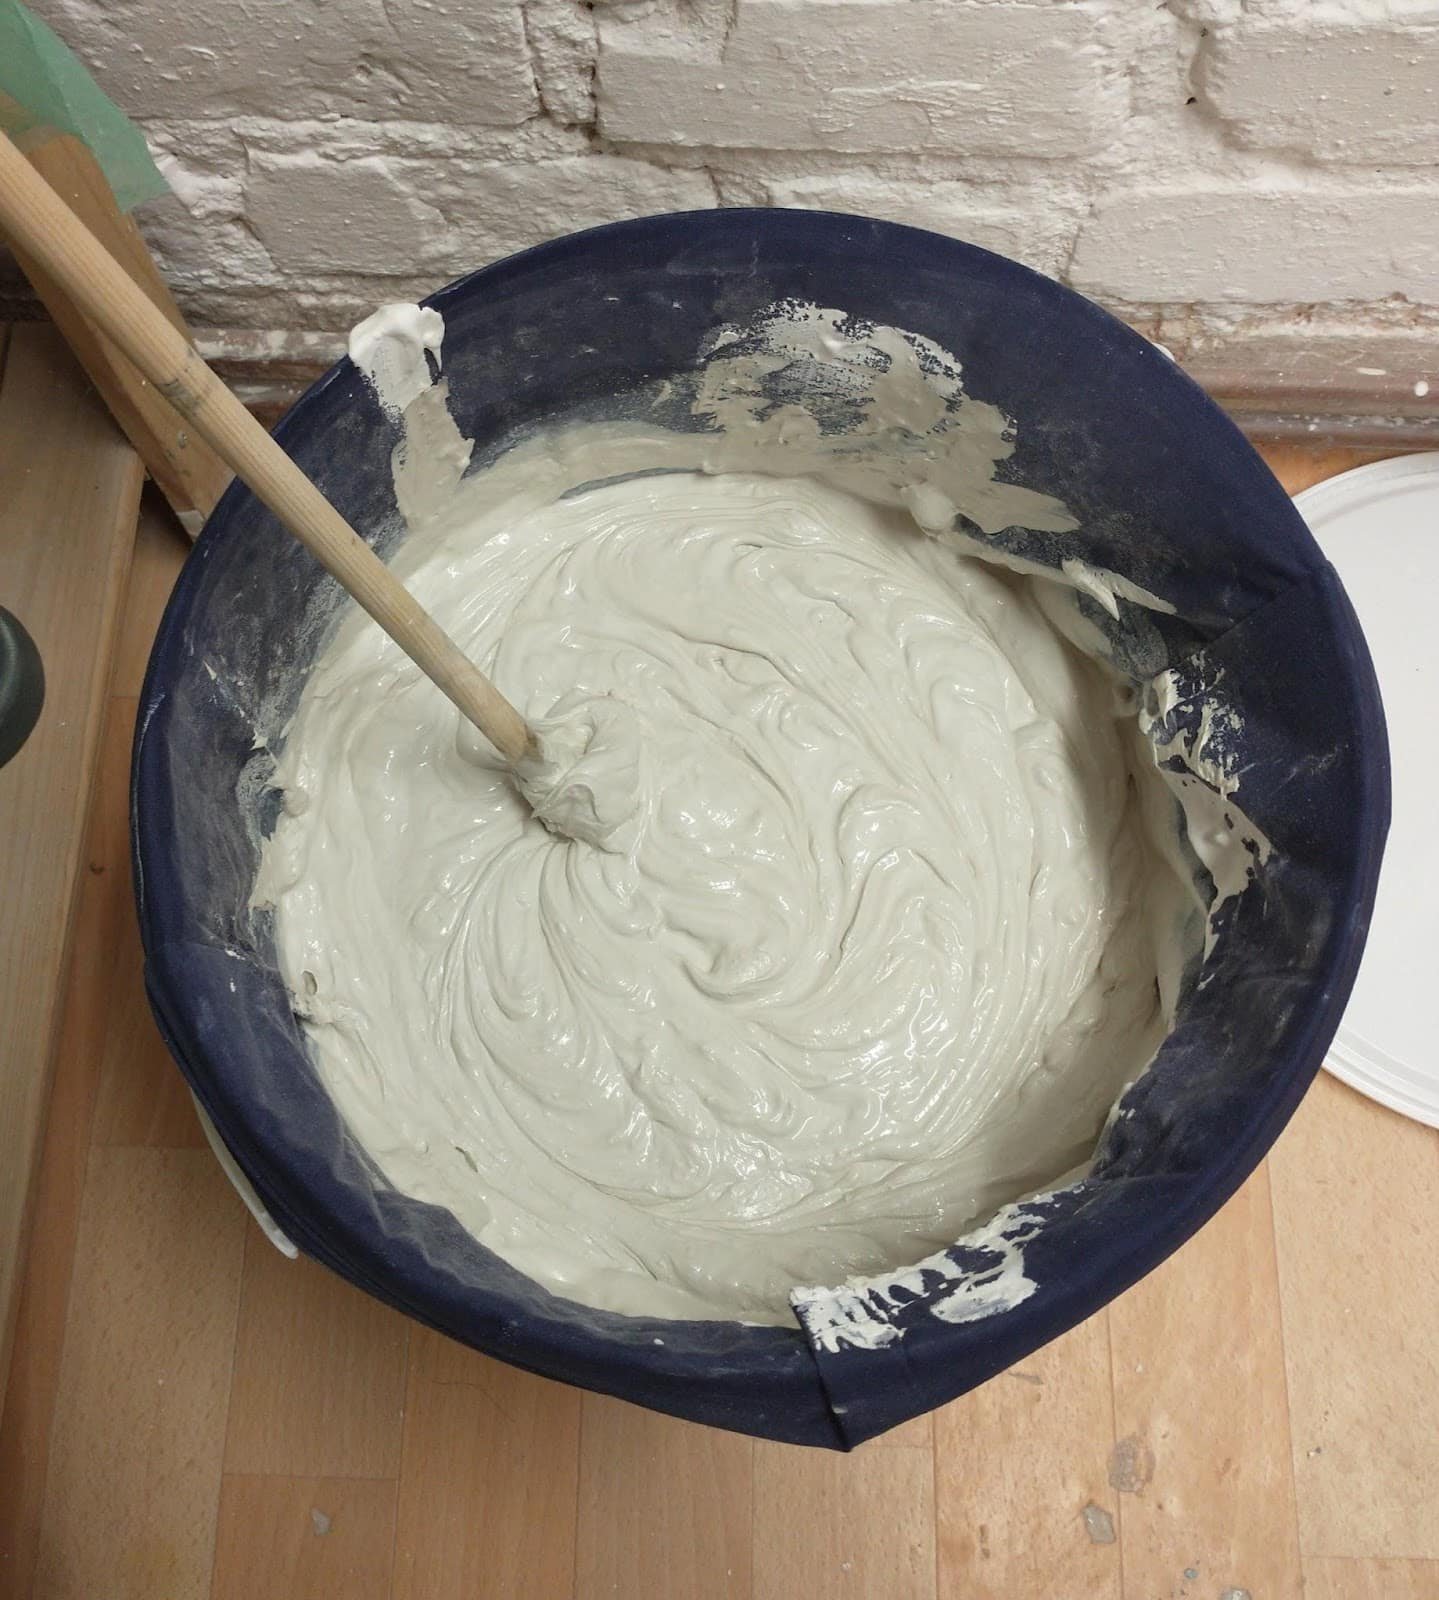
This stage of the process is simple: stir. With your mixing implement, you are going to give your bucket a thorough stirring, until a nice slurry forms. After this first time, revisit your reclaim bucket every day, stirring it for a few moments each time, and always leaving it uncovered afterwards. You will notice that the clay is a bit thicker each day, and that any lumps are breaking down more and more. Once your clay reaches a point where it is still wet but is requiring noticeable effort to stir, you are ready to move on to the next stage. The number of days this will take will depend on the size of your bucket and the humidity of your studio, but it can take anywhere from 1-3 weeks. That may seem like a long time, but considering you are only doing about 5 minutes of effort a day, it really couldn’t be easier!
Move it on Over!
1. Lift from bucket 2. Place on plaster board 3. Flatten within pillowcase

Now you’ll see why we’ve lined our bucket with a pillowcase! Begin by setting up an area for your plaster slab/board. Grabbing the edges of the pillowcase, carefully lift it out of the bucket and place it on the slab. This is the trickiest part of the process, as it will be heavy and may want to suction to the bucket. To help, hold the bucket between your feet for stability, or better yet, get a trusty friend to hold it in place for you. Alternatively, you can place the bucket on its side beside your slab or board, and drag the pillowcase out and onto the work surface. This process is so much easier than trying to scrape the clay out of the bucket if you had not used the pillowcase, and it also makes cleanup a breeze!
Once the pillowcase is in place, squish it down so the clay flattens out inside of it. Press it until the case is back in pillow shape, making sure that all the clay remains inside. This flattening process increases the surface area of clay in contact with the plaster and the air, allowing for further moisture reduction. Let the clay rest here for a day or two, pressing it with a finger to see how firm it is. Monitor carefully, as you don’t want it to become hard. Once it is slightly softer than your desired workability, you are ready for the final step.
Wedge, Wedge, Wedge!

Carefully roll back the pillowcase and use your wire cutting tool to cut the clay into manageable chunks. Now you can begin wedging! Depending on the size of your reclaim batch, you may want to spread the wedging into a few sessions, in which case, bag up the unwedged clay for later so it doesn’t dry out. Otherwise, wedge as you normally would, using your plaster slab to remove any excess moisture if needed. Once wedged, bag up your newly reclaimed clay, clearly label it, and get back to making some beautiful pots!
You have now successfully saved bags full of clay from going to the landfill and saved yourself the cost of buying a new supply! With the right planning and system in place, we hope you’ve discovered just how easy this process can be, and will incorporate it into your regular studio practice. And if you have some favorite tips of your own for reclaiming clay, be sure to head over to The Ceramic School’s community forum to share them with your fellow makers!


Responses