
Capturing the intricate beauty and soulful essence of ceramic creations through the lens is a craft that demands its own artistic prowess. For ceramic artists, the journey from clay to a finished masterpiece is a labor of love, and what better way to immortalize your creations than through photography? Whether you’re looking to showcase your pottery portfolio, share your process with the world, or sell your work through your online shop, mastering the art of photography can add a new dimension to your creative expression, all while increasing your sales at the same time. In today’s blog, we delve into a world where art meets technology, unveiling a trove of invaluable photography tips tailored specifically for ceramic artists. Unleash the potential of your pottery with insights that will transform your art into captivating visual stories!
Know Your Purpose
There are many reasons for photographing your work, and each one has its own unique requirements. Are you looking for process shots for your Instagram reels? Taking some portfolio shots for exhibition submissions? Or do you need in-use shots to sell your work in your online store? All of these will have very different aesthetics, so it’s important to decide what your focus is before determining your setup.
Setting the Stage
Once you’ve determined your motive, you can begin to prepare your background. Think of this as your set, like that of a play or an opera. Everything in the frame contributes to the story you are telling about your work. As we mentioned above, different purposes have different considerations, so we’ll go through each of the main ones below.
Portfolio Images
https://www.metmuseum.org/art/collection/search/207775

These are perhaps the most formal ceramic images we see. They’re used on websites to promote your work to galleries, and are frequently required for exhibition, grant, and residency applications. You’ll also need them for exhibition catalogs and magazine features. For these images, 100% of the story is the individual art piece, so the set needs to be as neutral as possible. Any other objects, or even shadows, will draw the viewer’s eye away from your piece, so they must be avoided. What’s great about this requirement is that it makes set-up simple. All you need is backdrop paper in black, white, or gray, arranged so it drapes from the back wall of your set across your table top. This draping method eliminates distracting lines where the wall meets the table, ensuring all eyes stay on your beautiful work. If you have the space, you can leave this set-up in place to make your photography sessions easy and efficient!
Process Images
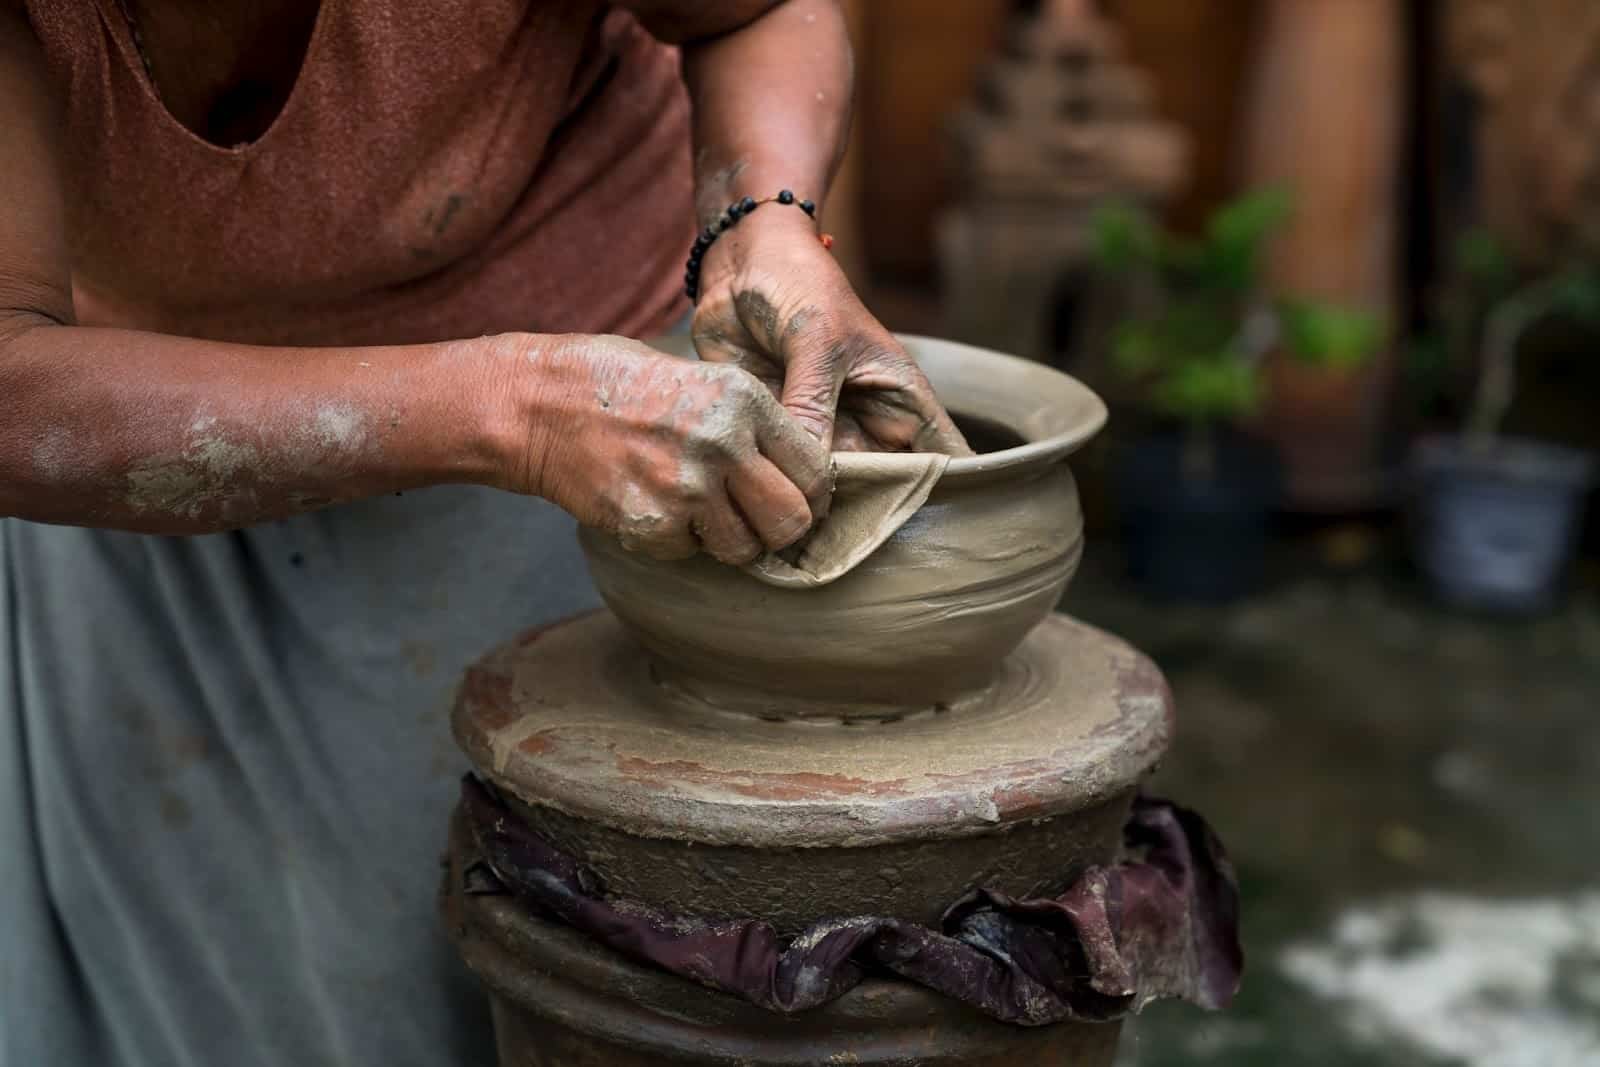
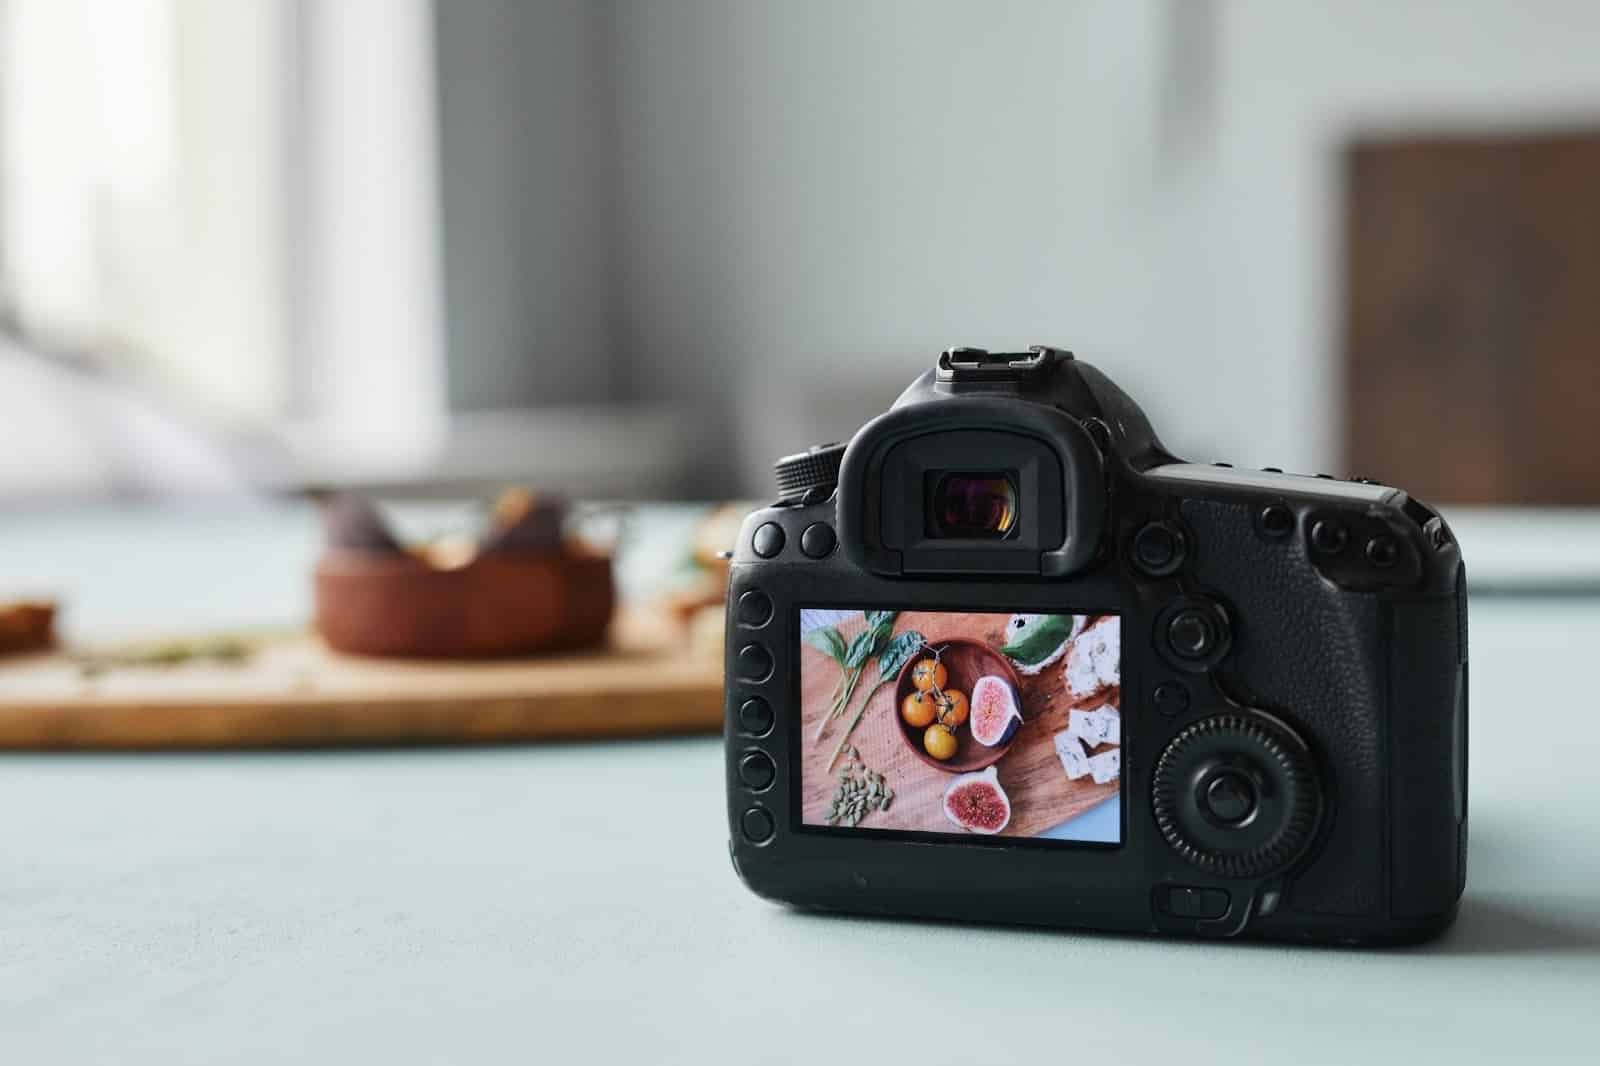
Process images have become increasingly popular with the use of social media, and are an amazing tool for educating other makers and showcasing your skill and training to potential buyers. By showing just how complex or considered our making can be, we increase the sense of value to our customers.
For process images or videos, your studio is the likely set. This one requires vigilant eyes, as it’s easy to become blind to the clutter in the spaces we see everyday. Take some time to examine your studio with fresh eyes, looking for anything brightly colored or full of detail that will distract from your image’s focus. While you want your studio environment to look authentic, your priority is directing viewers’ focus to the task you’re showcasing. If it’s not relevant to the process you are showing, make sure it’s not in the frame. If unavoidable, make it out of focus within the image so it’s less distracting. At the same time, consider what tools or objects will add to the story you are telling. Maybe have relevant tools in the foreground, or more clay set to the side in preparation for repeating the task. Try to place these in a way that adds to the composition of the image, without it seeming too deliberate.
For process images, you’ll also need to consider the camera position. While portfolio images are typically shot side on, your process may be better showcased from a top-down perspective, or perhaps you can add drama from shooting from a lower angle. Consider what aspect of your demonstration is most important to highlight, and use this to decide what camera position makes the most sense. If you aren’t sure, play with a few to see what works best.
In-Use or In-Situ Shots
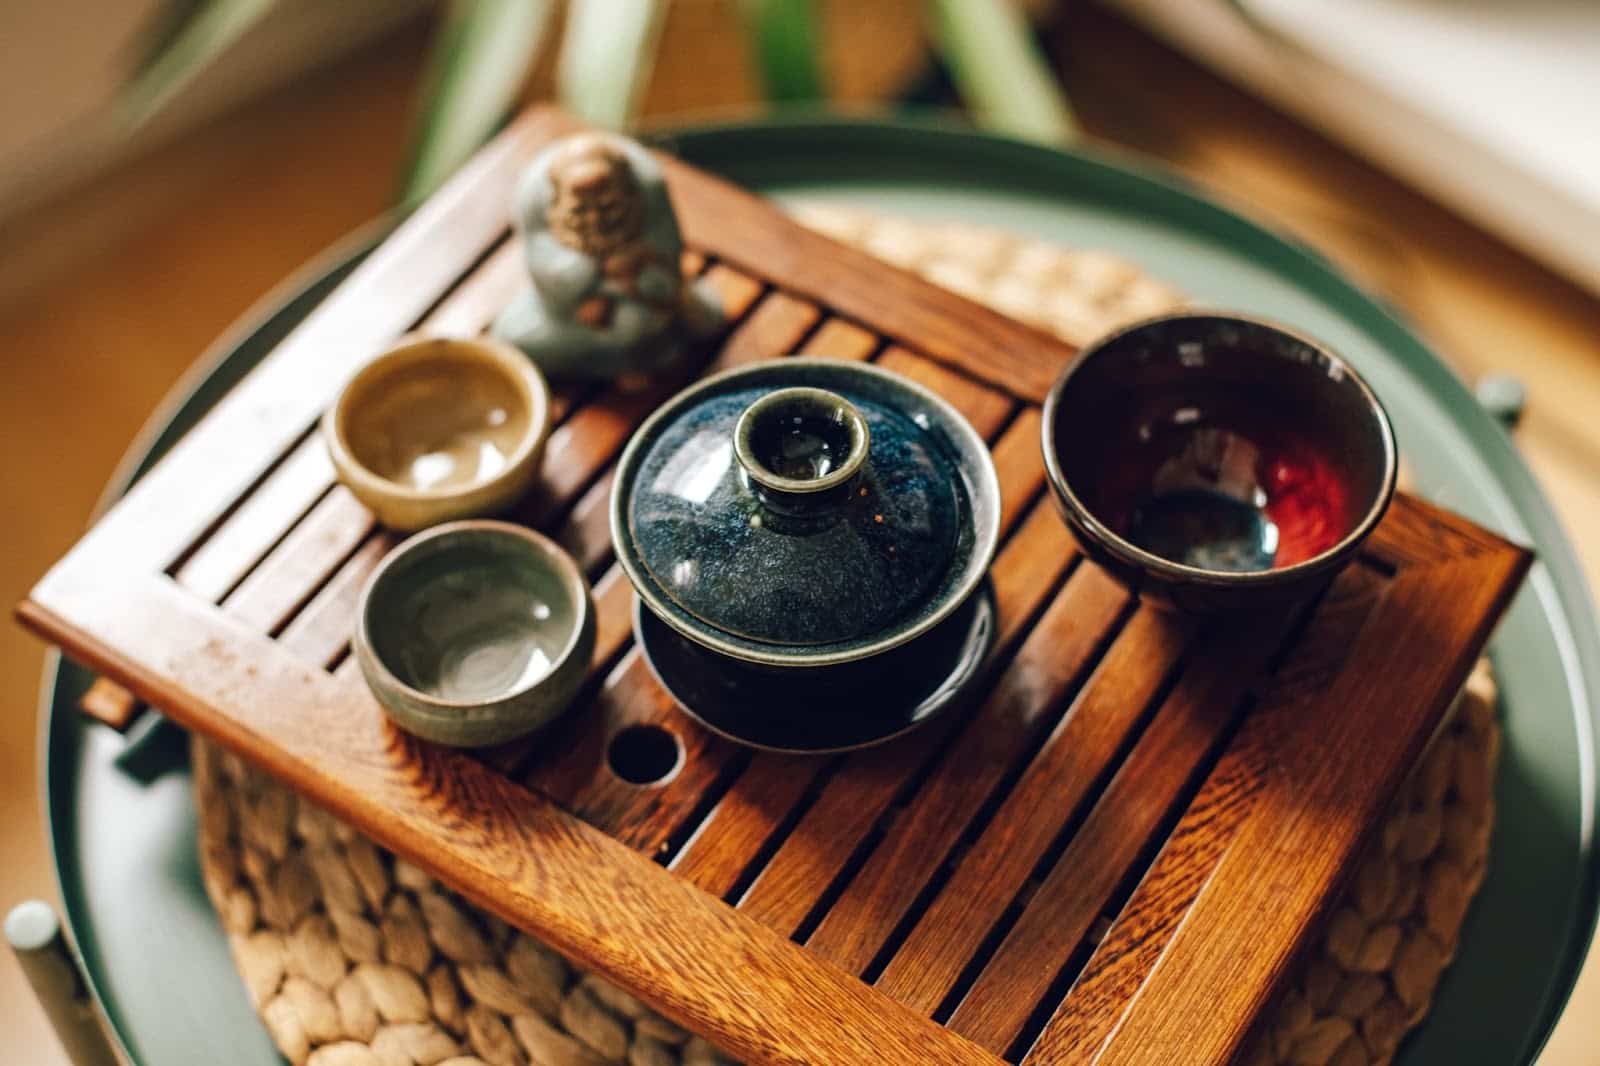
These images are used to help your potential buyer imagine themselves using or displaying your work. They’re the biggest story tellers, so they require the most set consideration and staging time. Thes shots can really help to set the feel of your brand, so try to think beyond just showing that your mug holds coffee. Think about what type of buyer the mug is aimed at, and what aesthetic your work falls into. Are you appealing to the boho-chic buyer, the cottage core lover, or the austere modernist? Is your dinnerware meant for cozy everyday use or to showcase gourmet meals in four star restaurants? If you are a sculptor, help the new owner imagine how it will fit in their home. Will it stand out on a bookcase, or be an attention-grabbing centerpiece to an entryway?
When thinking of these things, consider the color palette and textures that will contribute to your story, while highlighting important details of your work itself. If you are plating food to show off your functional ware, consider the color of the foods, and the feeling that those foods evoke. You may also want to consider having a model or two; perhaps comfortably nestled in a chair with a tea steaming from your mug, or a group gathered around the table with your dinnerware front and center. Having people in your shots not only helps potential buyers to see themselves with your work, but has the added bonus of communicating scale, an important consideration to most purchasers.
Because this type of image requires more set-up time, it’s helpful to plan a full shoot, rather than just doing 2-3 images. Consider creating a storyboard for the images you want to capture to help you figure out the direction of your story, and its possibilities. Try to think how you can create variation in your images to paint a larger picture. For example, you could shoot pieces from the same body of work in different rooms in a home of a unified design. For example, in a beautiful country house, someone could be enjoying a coffee in your signature mug on the front porch, pouring fresh lemonade from your handmade pitcher in the kitchen, then enjoying dessert on your beautiful plate in the dining room. Taking the time to plan and shoot with a full story in mind will help you maintain a consistent aesthetic across your images, enhancing the recognition of your brand, while also showcasing the versatility of your pieces.
As with our other two image types, be sure to carefully edit all objects that appear in the frame. Only things that add to the story without distracting from your work should appear.
Light it up!
Lighting is one of the more important considerations when it comes to strong photographic images. Lighting helps to enhance the three-dimensionality of your work, and can be used to create drama or invoke a desired mood. We’ll walk you through some basic considerations, what equipment you’ll need, and how to deal with some of the unique challenges that lighting ceramics can entail.
Temperature Matters
https://www.elesi.com/blog/what-is-colour-temperature/

Now, you may be asking yourself “what’s the temperature outside got to do with taking good photos?” Well, we’re not talking about the temperature on your thermometer, but rather the color temperature of your light source! Light is commonly referred to as either warm (towards the red end of the spectrum) or cool (towards the violet/blue end), and it can also shift towards green or magenta if you’re working with fluorescent lights. The color and temperature of your light source impacts how the color of your work is perceived. For the most accurate color depiction, you’ll want your light temperature to be as close to neutral as possible. Most light bulbs have a temperature spectrum diagram on the box, so choose the options that are rated closest to the center, or which are the whitest. For best results, make sure all the bulbs you use are the same temperature. If they’re different, you can end up with a color cast on one part of your work that’s not on the rest, which can be difficult to edit out. Don’t forget to consider your ceiling light! It’s easy to forget, and even though it’s further away from your work than any photo lights you may be using, it will still have an impact. For best results, turn it off.
If you are restricted in your light options, say if you are using a communal set-up, or you’re restricted to using a household lamp or ceiling light, don’t worry. You can set your camera to compensate for color temperatures by using the Custom White Balance setting. This is one of the most useful and under-used settings in most cameras, and it’s well worth learning how to use it. While the process varies by camera model, typically you would photograph a white card or sheet of paper under the lighting situation you have available, framing it so the whole image is just white. Once you’ve done this, go to your Custom White Balance menu option. It will prompt you to select a photo from your images files, so select the white image you just took. Your camera will now automatically compensate for the color temperature, shifting everything to neutral for more realistic colors! If your setting has multiple light sources of different temperatures you may still have some color casting, but it will be greatly reduced with this easy step.
Natural Light vs Artificial Light
Which is better, natural light or artificial light? This is a super common question, and as you may have guessed, it depends on the situation. Natural light is definitely the most affordable option, and it typically falls into the neutral temperature range, though not always. Artificial light, on the other hand, comes with some initial expenses, but it offers superior consistency and maneuverability. Let’s look at each option in more detail below.
Keeping Things Natural

There is something so lovely about shooting outdoors: the fresh air, the sunlight, the soft shadows, all of these things making the process extra enjoyable, and can lend themselves to some beautiful images (well, maybe not the fresh air directly, but if you’re feeling happy and relaxed then your images will be better too, right?). Natural light is an unlimited and free resource that’s definitely worth taking advantage of. However, it does come with certain considerations.
The first thing to know is that you won’t want to shoot under full sun, especially if you’ve got lovely glossy glazes that will reflect the light. These areas will completely blow out, meaning, they will contain no detail as they’re too bright for the camera to understand. The other challenge with full sun is that you will have very strong shadows. There are some situations whether this can be desirable, say if you are after a bit of drama, but typically they create too much contrast. Your darks are too dark, your whites too white, and the shadows at the base or your work and behind are too strong and distracting.
Now you may be thinking that the opposite situation must be the ideal: fully gray skies! While causing way less issues than sunny skies, this lighting situation on its own can make your work look flat. Here you have the problem of too few shadows accentuating the curves of your form. However, this type of lighting can be perfect given the use of some basic props. You can use an opaque board to block the light from one side. This will help give you those missing shadows and help the work pop. Play with the angle and distance of the board in relation to your piece to see how it changes the impact of the light. Conversely, you can use a reflector, which is simply a board or umbrella with a bright white or metallic surface. It’s used to bounce the light more strongly from one direction back towards your piece. This creates more directional light that enhances the form of your work.
If you prefer to work without extra props, then mixed sun and cloud is your ideal situation. Under these skies the sunlight is diffused enough to avoid harsh shadows, while still being directional enough to create depth. The main considerations here are the angle of the sun, and also the wind. Aim to do your shoot in mid morning or later afternoon, when the sun is not directly overhead. This gives you nicer shadow effects. As for the wind, it does like to move the clouds around quite a bit, giving moments of brighter or darker light, depending on where they are in relation to the sun. Just keep an eye on the intensity of your shadows to time your images for the best results.
And of course, don’t forget the option of shooting indoors next to a window. Combined with a reflector, this can give beautiful soft light under the right cloud conditions, and it comes without the challenges of being outdoors.
Working with Artificial Lights
https://expertphotography.com/food-photography-lighting/

While often a bit cumbersome, artificial lights offer the greatest flexibility and consistency when it comes to photographing your work. You can adjust their distance from your pots, as well as their angle and intensity. And don’t think you need to break the bank when it comes to lighting either, you can get by perfectly well with a single bright white light, a tripod, a diffuser, and a reflector. Multiple lights are definitely advantageous as they give more brightness, but they aren’t essential if your budget is tight. What’s actually more important when shooting ceramics is the diffuser. Diffusers, sometimes called soft boxes, are fabric screens that fit over your light, breaking the light’s intensity and reducing glare. This is invaluable when you are shooting glossy surfaces, as it prevents glare. It also prevents any strong highlights from being lightbulb-shaped, which can detract from your pieces. In a single light set-up, the reflector is equally important to your diffuser. It’s needed to bounce the light from your lamp towards the unlit side of your piece, balancing the light while still allowing for depth and soft shadows.
If you have the space and the budget, then a multiple light set-up can be a joy to work with. You have more room to play, as the relative positioning of the lights can be used to emphasize different areas of your work. The main thing to keep in mind with this set-up is to avoid making your light too even. Just like the perfectly overcast sky, overly even lighting will flatten your work due to the lack of those form-defining shadows. Assuming you are working with the same temperature and intensity of bulb in each of your lights (and we recommend you do!), try some of the following positions to see how they impact the look of your piece:
- One light closer to your piece than the other, on opposite sides
- One light looking slightly upwards and the other higher and looking slightly downwards from the opposite side
- One slightly in front of your piece and one on the other side slightly behind
- A light centered in front of your piece with one on either side set further away, one of them being further than the other. Try having the center light looking slightly down, or slightly up
- A light in the center, with one to the side and a reflector on the opposite side
For a simple method of shooting diffused artificial light, check out our article How to Make a DIY Light Box!
Stabilize
Now that you have your lighting figured out, it’s time to get ready for your shoot. One of the easiest ways to guarantee your images will come out nice and sharp, no matter how bright or dim your lighting is, is by using the humble tripod! We know tripods can seem a bit cumbersome, especially if you only need a shot or two, but trust us, low light will never be a problem if you use one. This is because using a tripod prevents blur-causing shake by stabilizing your camera and allowing you to use a much lower shutter speed than you would be able to use otherwise. And because you can use a much slower shutter speed, the tripod also allows you to use a much lower ISO, reducing the grain-like digital noise that comes with higher settings. Aim for an ISO of 100-400 for the clearest results. And as for the shutter, if you need something slower than 1/30, consider using the self timer, so that the act of pressing the shutter button does not shake the camera.
Go Manual for Maximum Control
https://www.iphotography.com/blog/camera-dial/

While today’s cameras come equipped with lots of fantastic auto settings, it’s worth taking the time to learn how to use it manually. By independently setting the shutter, aperture, ISO setting, and custom white balance, you can better control the depth of field, graininess, color temperature, and general exposure, all of which will save you tons of time editing on your computer. If you are using a fixed set-up, where you are using the same light positioning for the whole shoot, you only need to adjust your settings once for your whole session. This is not only super efficient, but ensures consistency across your images.
There are a few situations where using manual settings is particularly advantageous. The first is when your backdrop is either all white or all black. Your camera is designed to assume that the average tone of your frame is middle gray. When the majority of your frame is all white the camera thinks that white must actually be gray (confusing we know!). As a result, it assumes your scene is darker than it is, causing your whites to be gray and everything else to be too dark. The opposite happens with a black backdrop. Your camera assumes the black is actually gray, overexposing your image, and making everything too bright. By shooting in full manual, you can compensate for this by metering one or two stops too high in the case of the white background, or one or two stops too low in the case of the black. If there’s not much background visible and your piece is close to middle gray, you won’t have to compensate as much as if your piece is either very light or very dark, and takes up less of the frame.
The other instance when shooting manual is beneficial is when you’d like to highlight a certain part of your piece through the use of depth of field. By focusing on the desired area with a large aperture, the surrounding area will be out of focus, naturally drawing the eye exactly where you want. You can do this with the semi-automated Av setting, but we think it’s worth maintaining control of your shutter for maximum control.
Tips for Using Manual Settings
http://mybiggirlcamera.com/aperture-f-stop/

When setting up your camera, you are going to go about things in a particular order. Firstly, decide on your ISO. As we mentioned earlier, lower ISO produces less grainy images, so try to go for less than 400, with 100 being ideal. Next, you are going to set your Custom White Balance, as we describe in our lighting section. Now you are nearly ready to meter, but first you need to make a decision. What’s most important for your image: capturing movement (with your shutter speed), or controlling depth of field (with your aperture)? Whether you’re shooting sculpture or pottery, there are few instances where your pieces will be dancing about, so you’re normally going to be more concerned with your aperture setting than your shutter. If, however, you are doing process shots, say of using the wheel, or pouring slip, then your shutter becomes more important. The one you determine most appropriate is the one you select first, then you’ll simply adjust the other setting until you’re metering a balanced exposure.
If you aren’t too familiar with how the aperture and shutter numbering system works, the easiest thing to remember is that with aperture, the smaller the number the shallower the depth. If you are using f2, less of your image will be in focus than if you use f16. The ideal setting for ceramics depends on how deep your piece is, but f8 is typically a good place to start. The shutter can be a bit more confusing, as it goes from fractions of a second to whole seconds. When shooting less than one second, the lower the bottom fraction number is, the slower the shutter will be, and the more motion will be blurred. So 1/200 will stop the motion of someone walking, while 1/35 will cause them to be blurred. With hold seconds, the higher the number, the slower the shutter. Aperture and shutter always work in tandem with each other to allow the correct amount of light into your camera’s sensor, so if you change one, you will have to make an opposite compensation with the other. If your desired aperture requires a shutter slower than 1/60, use a tripod.
If you feel a bit overwhelmed at the prospect of learning to shoot manually, don’t! Your digital camera gives you instant feedback, so there’s endless room for trial and error. You’ll be surprised how easy it is to learn, and once you do you’ll never want to go back to shooting fully automatic!
Camera or Smartphone, Which is Better?

Whether you choose to use a dedicated digital camera or your smartphone really depends on the quality of each, as well as the intended destination for your images. If you’re taking images to be printed in a catalog or magazine, you’ll need higher resolution images than if you are promoting your work on Instagram. The majority of phone cameras are great, and more convenient, for social media aimed images. The resolution will be perfect for the display size, allowing for fast loading, and you don’t have to worry about transferring your files from one device to the other. For print destined images, you may be better off with a mid range digital camera. While today the very best smartphone cameras are on par with many digital cameras in terms of resolution, they do come with a steep price tag. Digital cameras can also be pricey, but it can be surprisingly affordable to get a used model that’s just a few years old and of excellent quality. And while lenses have improved dramatically in smartphones, digital cameras are still at the forefront, while also offering more options. Another consideration between the two devices is size. If you want something that is light and convenient to have on you, then the smartphone is the obvious choice. With all this being said, as the quality gap between smartphones and digital cameras continues to narrow, your choice will really just come down to personal preference.
Editing: Making Great Photos Even Better
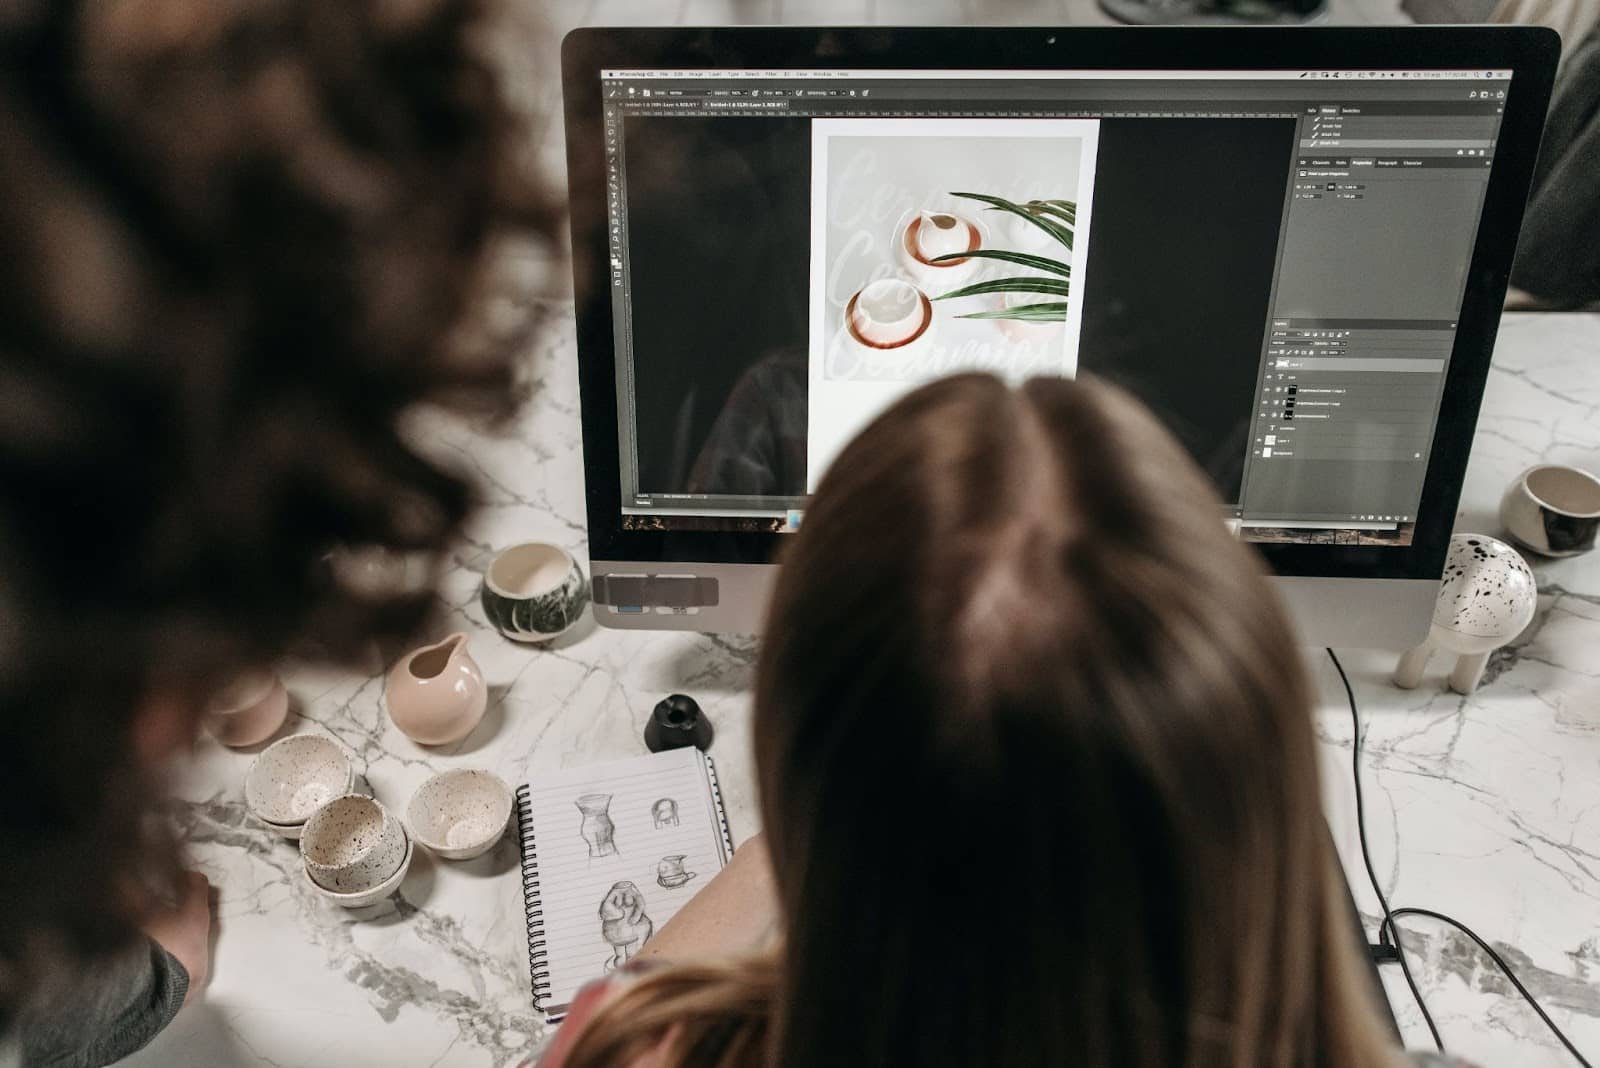
While we’d love to be completely finished once we’ve pressed that shutter button, most images do benefit from a bit of editing. There are lots of software options out there, such as Adobe Lightroom and Capture One, which are fantastic if you are working with a high volume of images. They can be pricey however, so if you are only photographing occasionally, have a look for some free editing apps. For instance, Google Photos is free and has all the basic controls you’ll need. While it doesn’t have the batch editing features of most paid programs, you can adjust your color balance and exposure, as well as adjust your angle, framing, and contrast. Making these small adjustments can really elevate your images and make them pop, so editing is always time well spent!
As you embark on your journey to master the fusion of ceramics and photography, remember that both crafts share a common thread – the power to evoke emotions, tell stories, and connect with audiences. With the insights shared in this article, you’re now armed with the tools to capture the essence of your ceramics, leading you to increased exposure, brand recognition, exhibition opportunities, and sales. Embrace experimentation, refine your techniques, and let your creativity flourish. Whether it’s the interplay of light and shadows, a cozy narrative scene of your pots in use, or the symphony of colors that dance across your pieces, photography can elevate your art to new heights and allow your business to grow.
Once you are confidently producing great images of your work, it’s time to share them on social media. Learn how to make the most of these platforms with The Ceramic School MBA course! We’ve got units specifically dedicated to social media and branding that are sure to help you put your new-found photography skills to use!


Responses