Handprint ghosts are a super fun and easy Halloween craft! You get to turn your own handprint into a cute, spooky ghost made from air-dry clay. It’s like making a little ghost buddy that you can hang up or give as a special gift. With some paint and a string, your handprint ghost will be ready to join the Halloween fun. Let’s get started and make your own ghost friend!
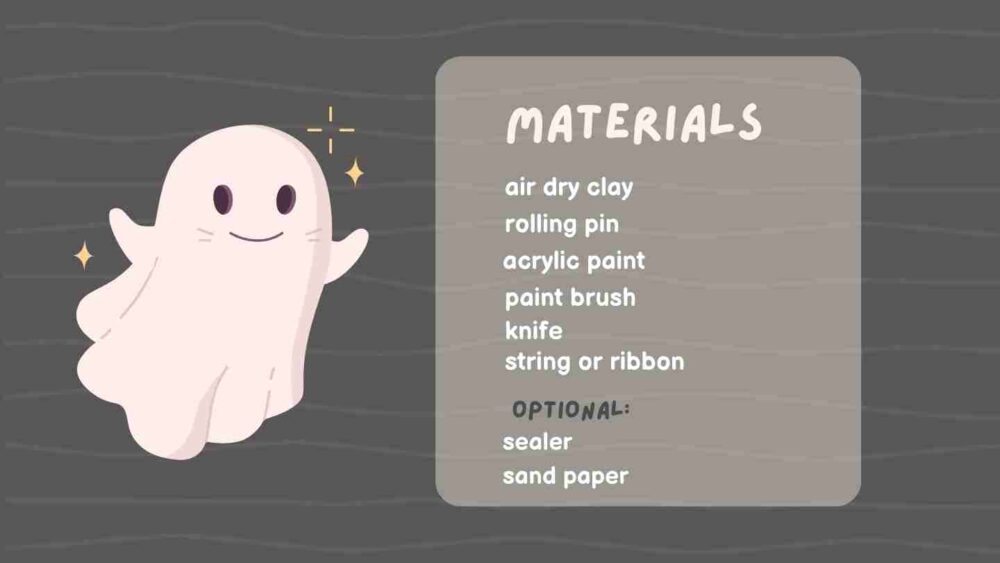
Materials:
These are products I am using myself, however there are lots of other good options. When you buy through links on our site, we may earn an affiliate commission.
How to Make a Handprint Ghost Out of Air-Dry Clay
Here’s a fun and easy way to turn your handprint into a spooky ghost using air-dry clay! Perfect for Halloween decorations or even a special keepsake. Let’s dive into the steps:
Step 1: Prepare Your Workspace
First, set up your workspace by laying down some parchment paper or a non-stick surface. This helps keep the clay from sticking to the table and makes cleanup super easy.
Step 2: Roll Out the Clay
Take a good chunk of air-dry clay and roll it out using a rolling pin. You want to aim for about 1/4 inch thickness—thick enough to hold its shape but not too bulky. Make sure it’s big enough for your handprint!
Step 3: Press Your Hand into the Clay
Now, the fun part! Gently press your hand into the rolled-out clay to make a clear handprint. Push down firmly enough to create an imprint, but don’t go all the way through the clay. This will be the base for your ghost!
Step 4: Cut Out the Ghost Shape
Using a craft knife or clay tool, carefully cut around the handprint to create the ghost shape. The shape of the hand naturally looks like a ghost, with the fingers forming the “ghostly” body. If you want, you can trim the edges to smooth out the shape a little.
Step 5: Make a Hole for Hanging
Before letting the clay dry, use a straw or skewer to make a small hole at the top of the ghost’s head. This will allow you to thread a string through later, so you can hang it up when it’s done!
Step 6: Let It Dry
Place your handprint ghost on a flat surface and let it dry for about 24 to 48 hours. Make sure it’s completely dry before moving on to the next step. If the clay starts to curl or bend, press it down gently or flip it over halfway through the drying process.
Step 7: Paint the Ghost
Once your ghost is fully dry, it’s time to paint! Use white acrylic paint to give your ghost a classic look. Then, take a black acrylic marker to draw on two spooky eyes and a little mouth. You can make your ghost friendly or scary—it’s up to you!
Step 8: Thread the String
After the paint has dried, grab a piece of string or ribbon and thread it through the hole you made earlier. Now your handprint ghost is ready to hang wherever you want—on your wall, in your room, or even on a Halloween tree!
And that’s it—your spooky handprint ghost is finished! It’s a perfect way to add a personal touch to your Halloween decorations.


Responses