Looking for a fun and creative project? Here’s a simple tutorial to make spooky ghost-themed coasters and a handy coaster holder using air-dry clay. It’s perfect for adding a little Halloween charm to your table!
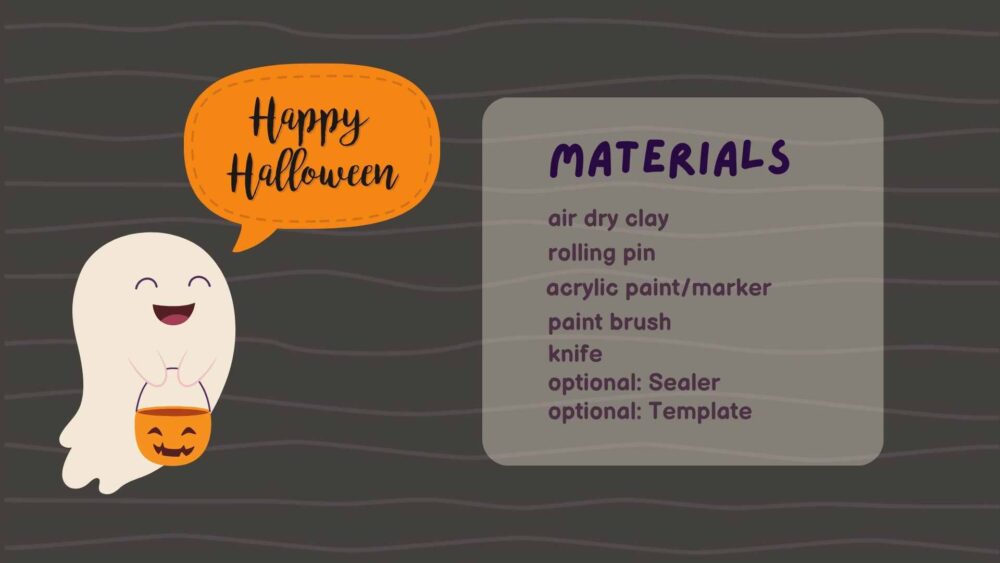
Material
Step-by-Step Guide:
Step 1: Prepare the Clay
Start by covering your work surface with parchment paper or a non-stick mat. Grab your air-dry clay and knead it until it’s soft and easy to work with. This will make the clay easier to shape.
Step 2: Roll Out the Clay
Roll the clay out to about 1/4 inch thickness.
Step 3: Cut Out the Coasters
To prevent the clay from sticking cover it with cling film. Now use a glass or small bowl as a guide to cut out circles for your coasters. Press firmly to ensure clean, even edges. Cut out as many coasters as you’d like to fit in your coaster holder.
Step 4: Let the Coasters Dry
Lay the coasters flat and allow them to dry completely for 24 to 48 hours. Make sure they’re fully dry before moving on to painting.
Step 5: Make the Coaster Holder
Roll out more clay to the same thickness as the coasters. Use the template or a small bowl to cut out a circle for the base. Then, cut a strip of clay to form the sides of the holder. To make it easy to remove the coasters, trim a small section from the strip, creating a slight opening in the side.
Step 6: Assemble the Coaster Holder
Using the score-and-slip method, attach the strip to the base. Score the edges where the pieces will connect by scratching small lines on the surface, then apply some slip (a mixture of water and clay) to help them stick. Gently press the sides onto the base and smooth out the edges with your fingers or a tool.
Step 7: Let the Holder Dry
Just like the coasters, the holder needs time to dry. Place it on a flat surface and let it dry for 24 to 48 hours. Make sure it dries evenly to avoid any warping.
Step 8: Paint Your Ghosts
Once everything is completely dry, grab some acrylic markers or paint. Add cute or spooky ghost faces to your coasters. Get creative with details like big eyes or wavy ghost shapes.
Step 9: Seal and Finish (Optional)
For extra durability and protection you can also seal them with a clear varnish to protect the paint and give everything a nice, finished look.
Now you have your own set of ghost-themed coasters and a handy holder, perfect for the Halloween season! Enjoy showing them off at your next spooky get-together.


Responses