Get ready for a super fun adventure with air dry clay frogs.
First, let’s make some cute clay frogs and coins.
All you need is some air dry clay, paint, and your imagination! Shape the clay into frogs and once they’re ready, it’s time to play!
This is a great easy project to spend an afternoon with the kids, and end with a fun game of treasure hunt that will get your children hopping with excitement…. Enjoy!

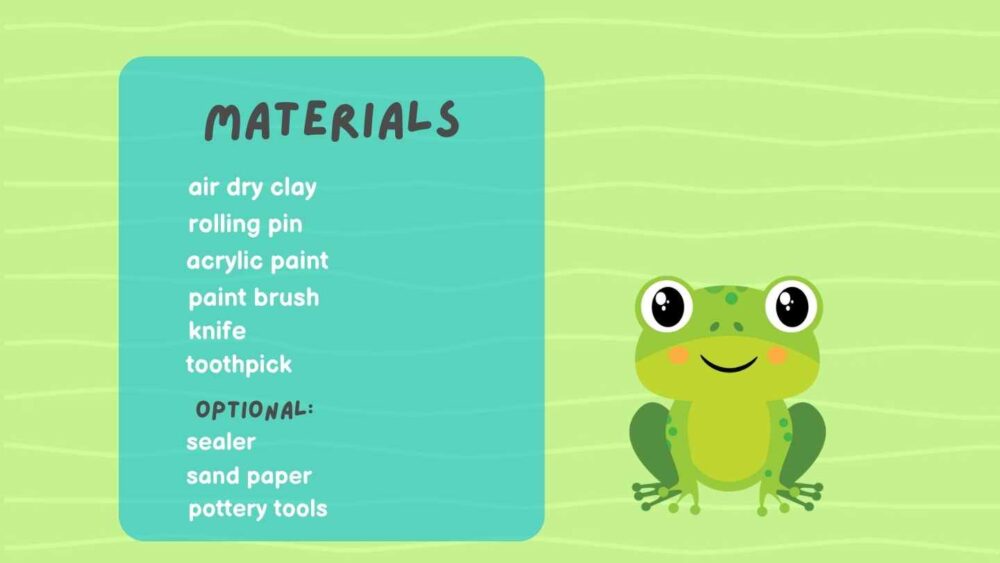
Materials list:
These are products I am using myself, however there are lots of other good options. When you buy through links on our site, we may earn an affiliate commission.
Step-by-Step Instructions:
Step 1: Get Your Space Ready
Cover your work area with parchment paper or a silicone mat to keep the clay from sticking
Step 2: Soften the Clay
Take your clay and knead it until it feels soft and easy to shape.
Step 3: Roll and Shape
Roll out the clay to about 1/4 inch thick.
Use the template or just freehand a circle for the frogs and the frog coins.
Step 4: Form the Frog’s Mouth:
Fold the circle in half and pop a paintbrush or stick inside to keep the mouth open.
Step 5: Make the Eyes
Roll two small balls of clay for the frog’s eyes and attach them to the top of the face. Smooth out the edges so the eyes blend in nicely.
Step 6: Add Nostrils
Use a toothpick to make tiny nostrils just above the mouth.
Step 7: Let Dry
Let everything dry completely, which usually takes 24-48 hours. Keep the paintbrush or stick in place while it dries.
Step 8: Sand rough Edges
Once it’s dry, you can gently sand any rough edges to make the frog nice and smooth – his step is optional and only for adults
Step 9: Paint
Grab your paints and get creative! you can use any colours you like
Step 10: Use Sealer
Optional: use a sealer to protect your frogs
Your frogs are ready!


Responses