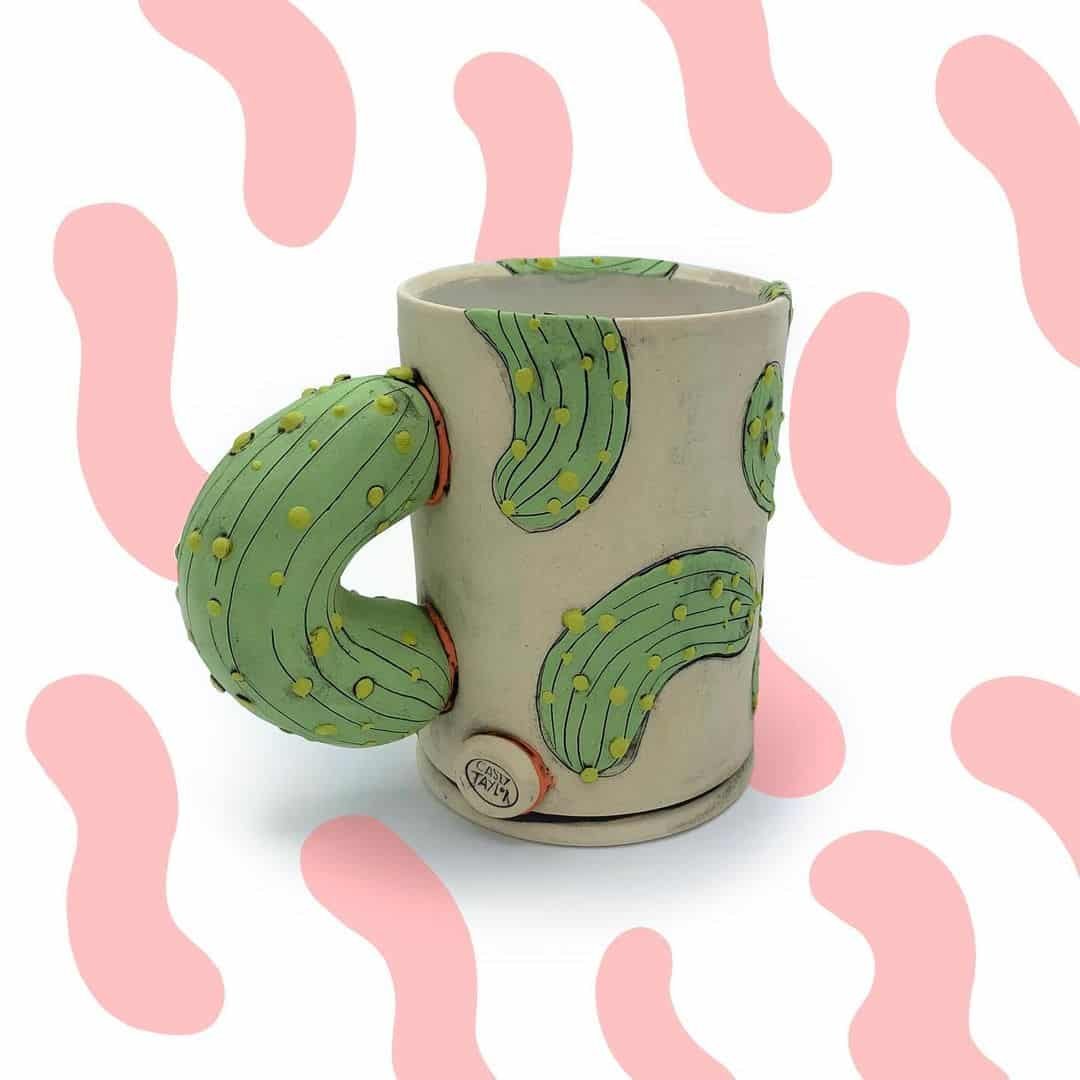
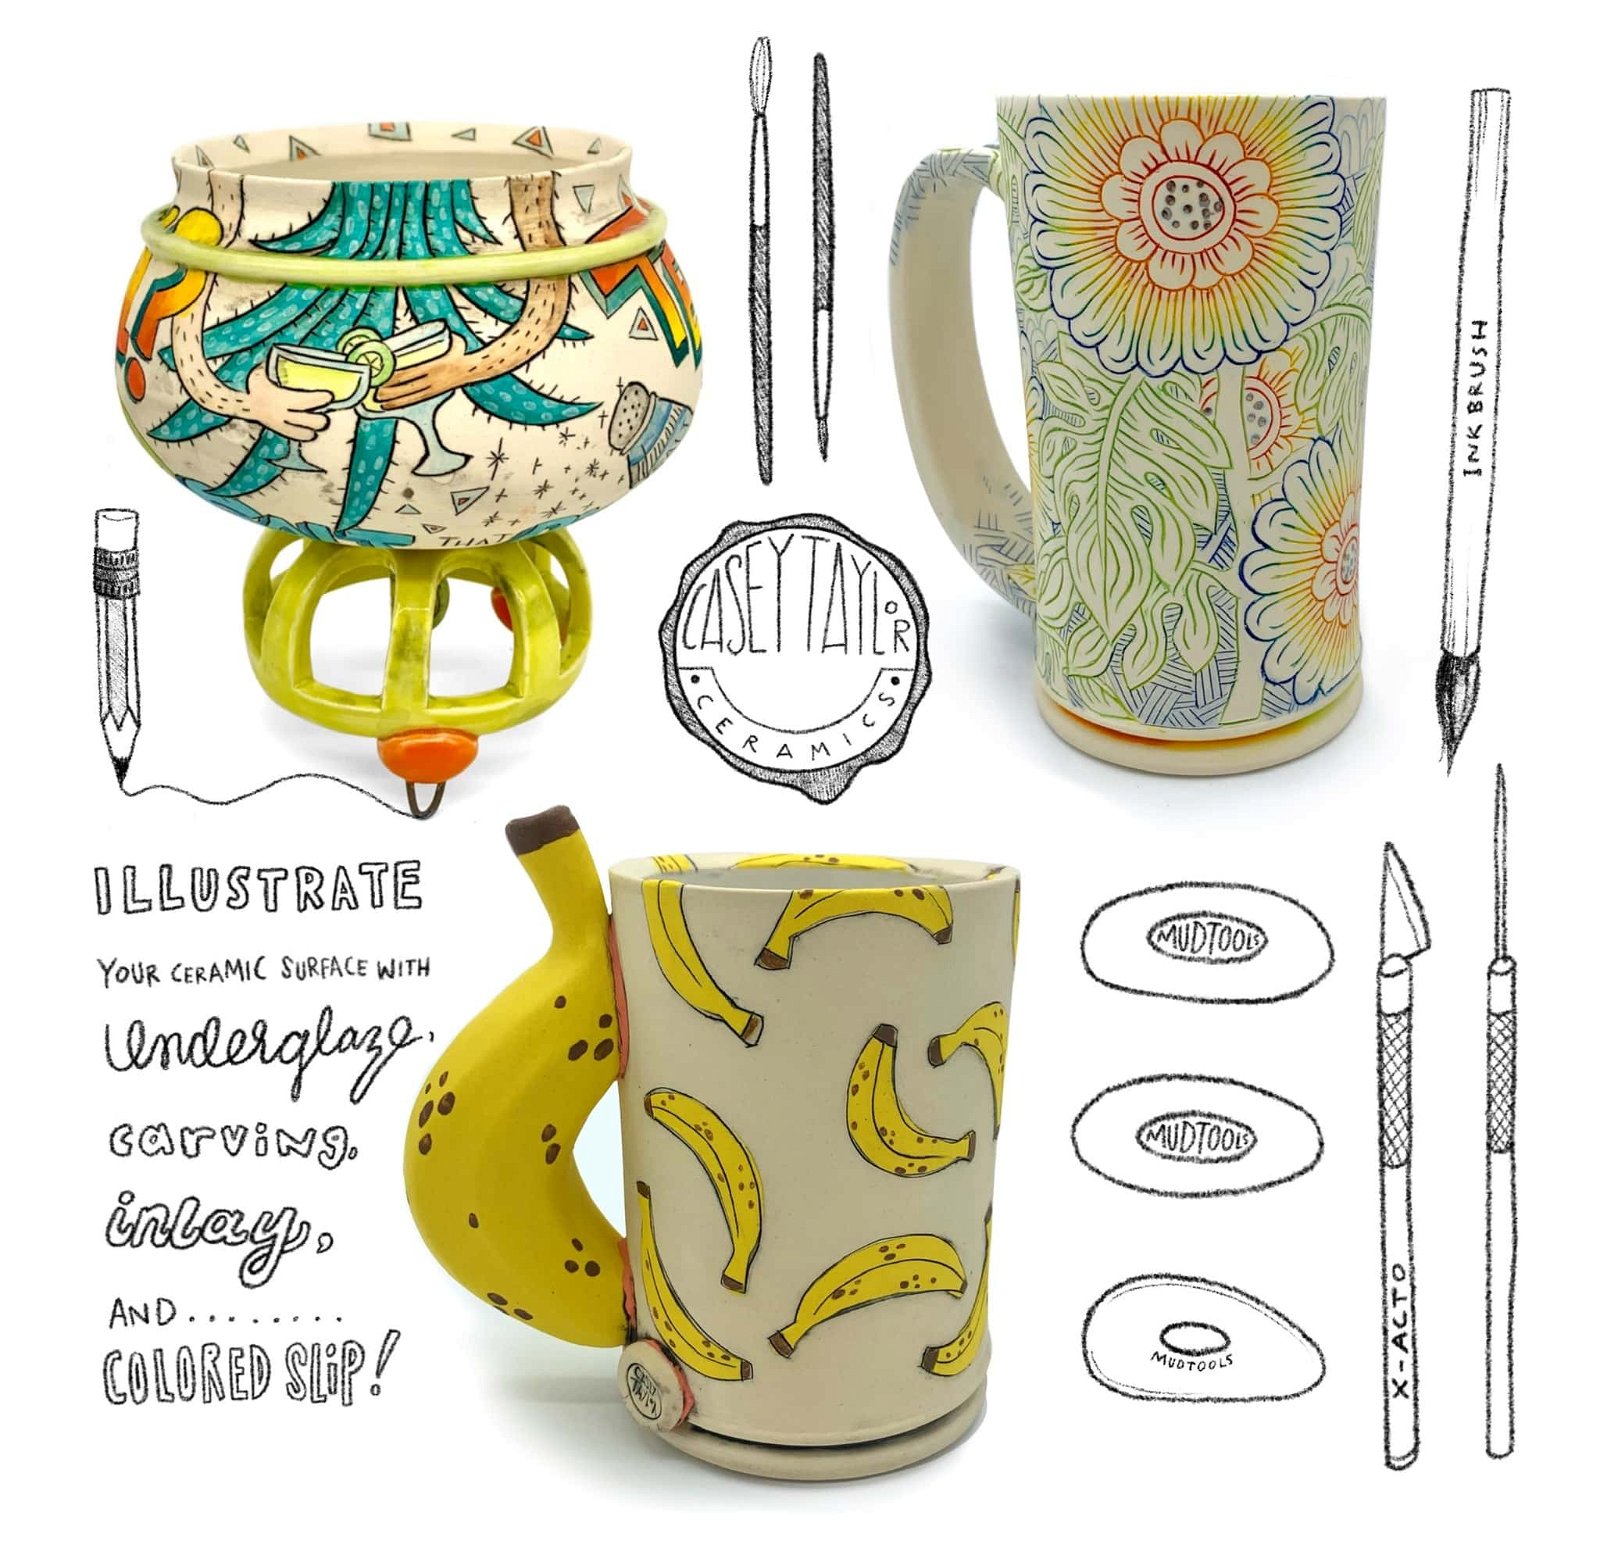
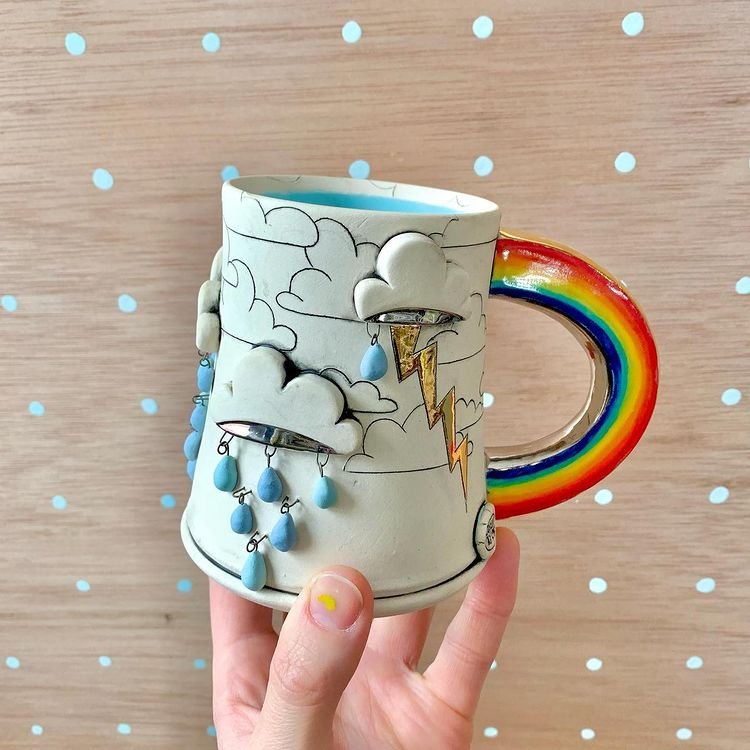
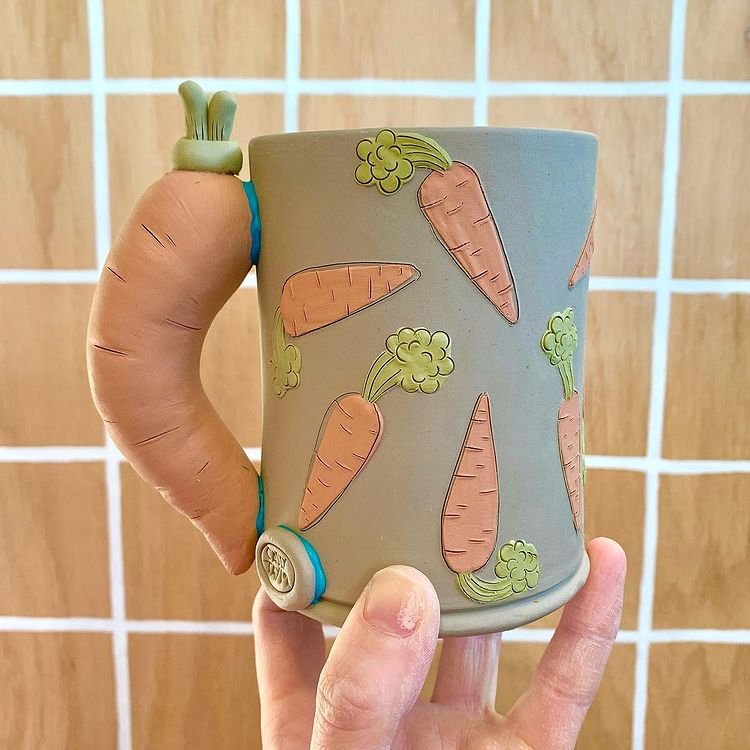
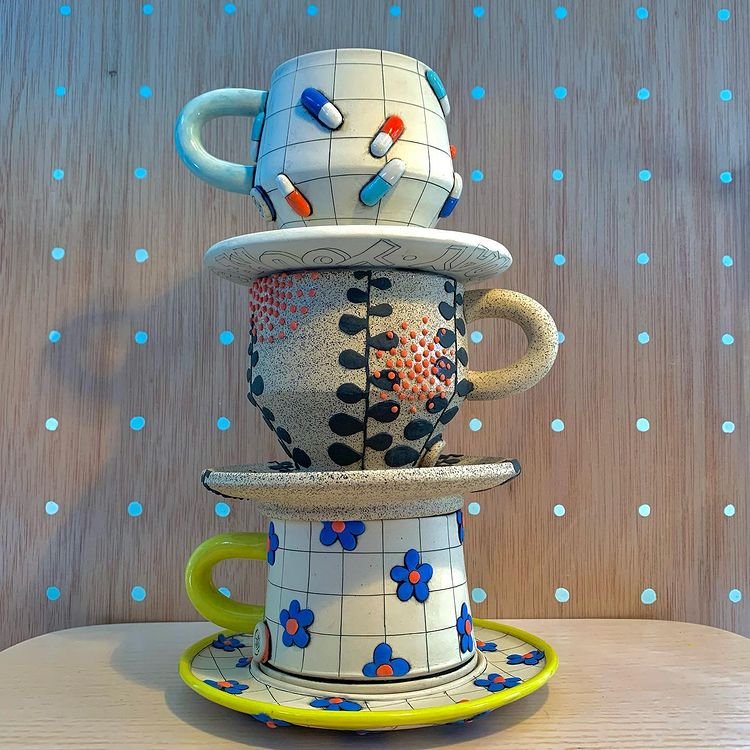
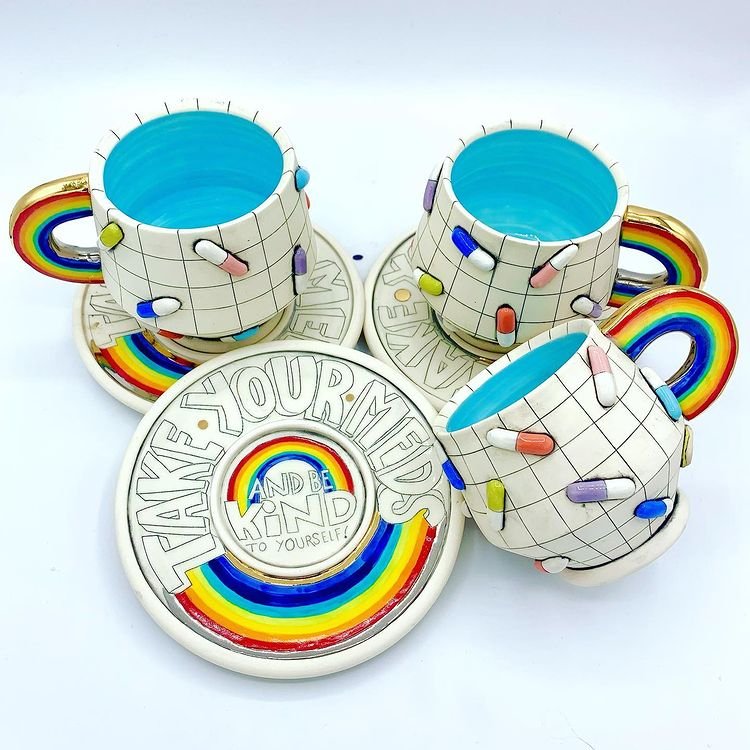
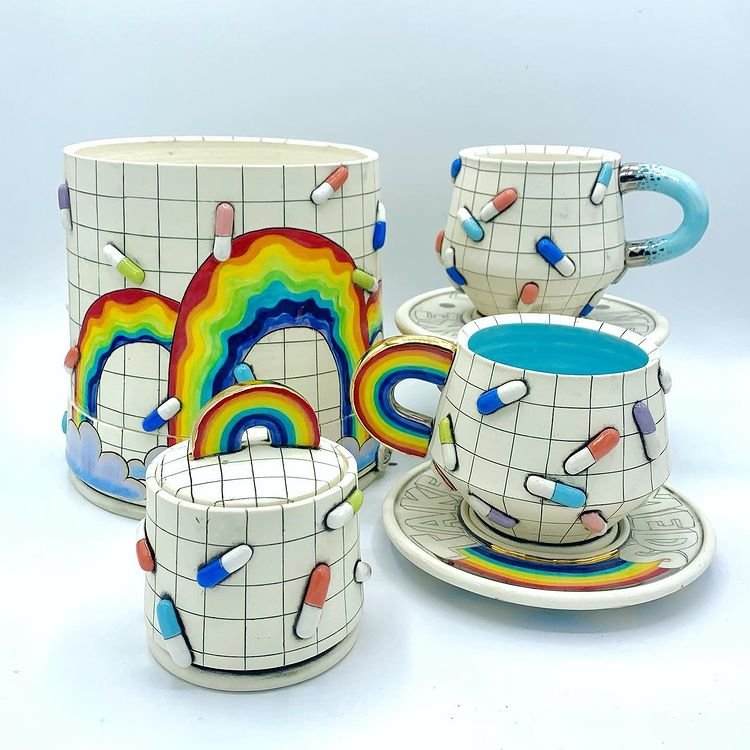
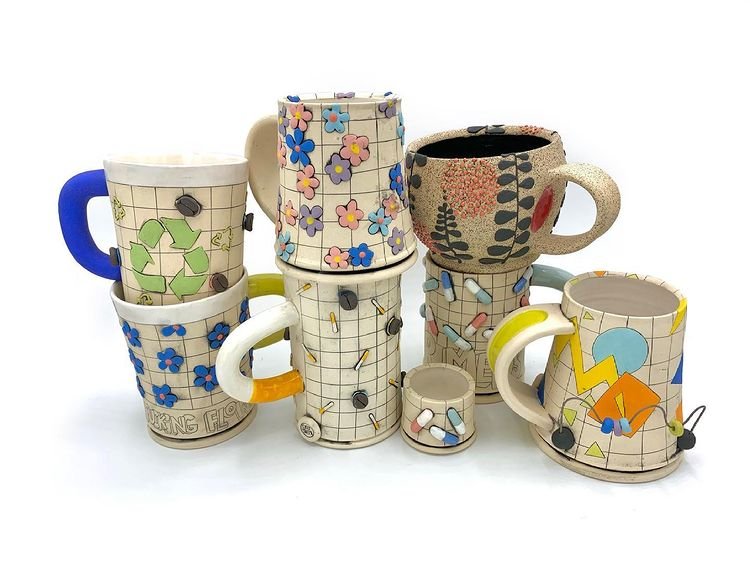
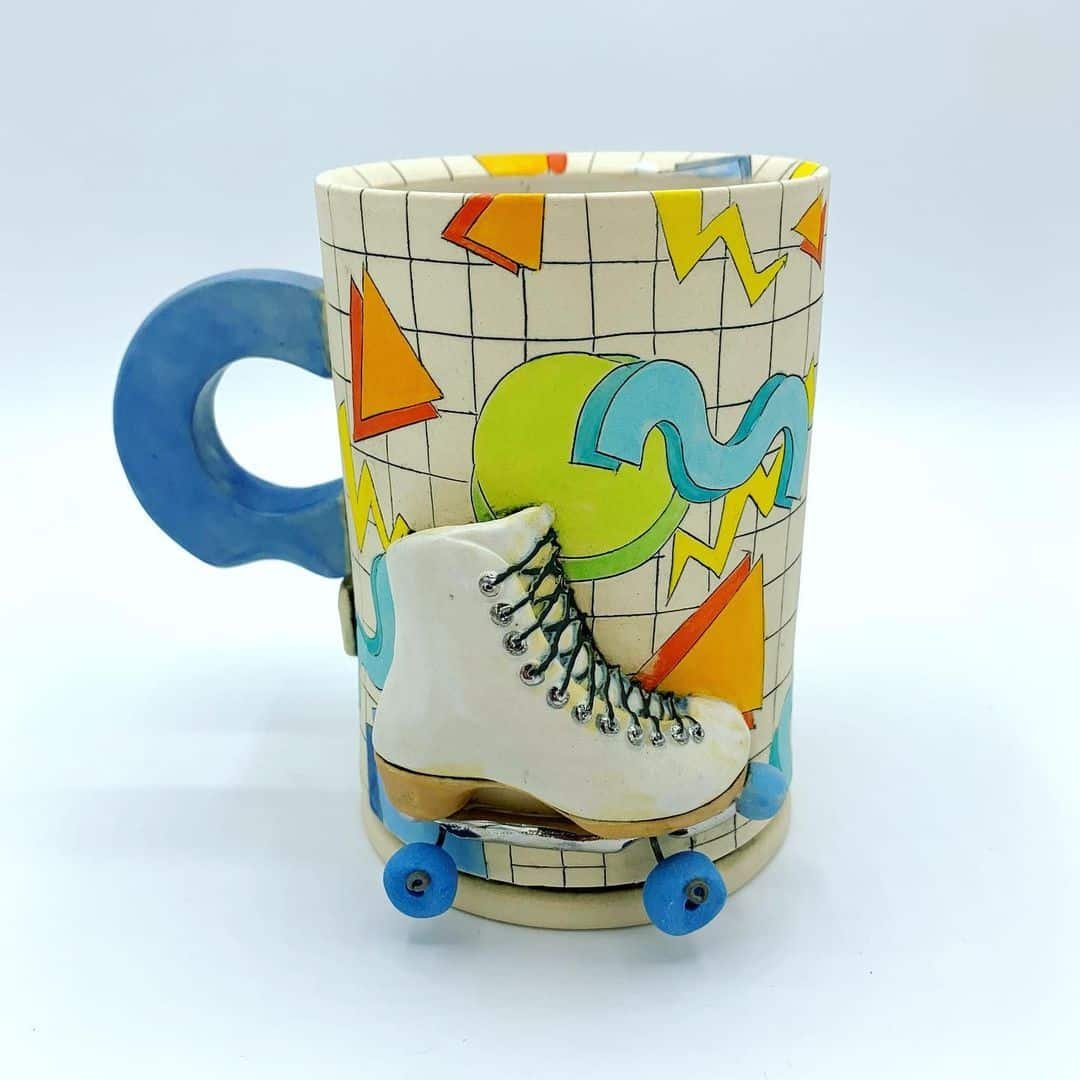
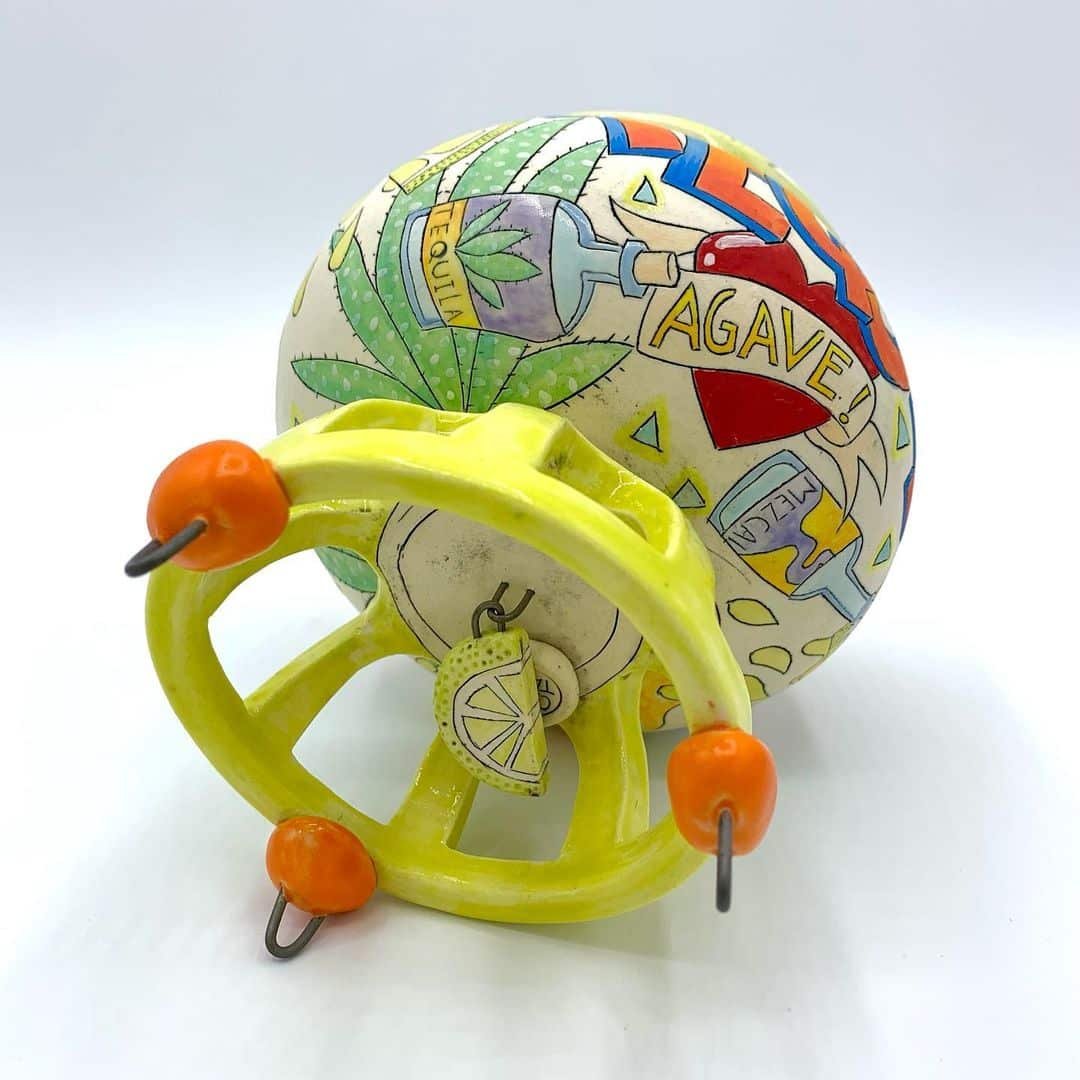
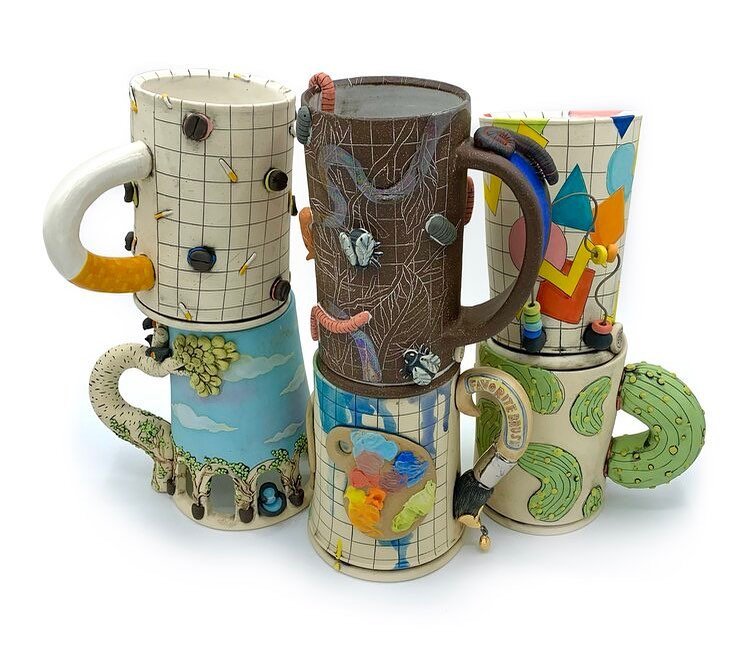
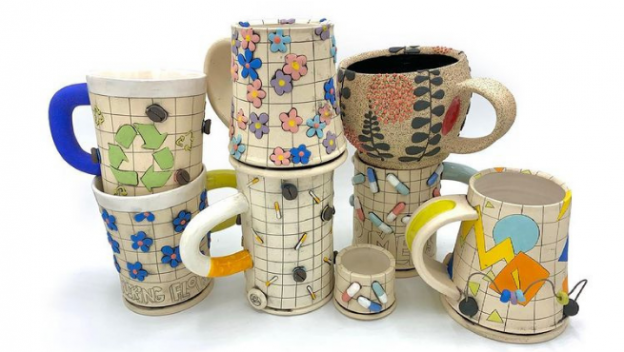
Hi, my name is Casey Taylor, and in this workshop, I will be teaching you how to create some of the surfaces I love to make in my work using inlay, underglaze, and colored clay!
We will be going from greenware to glaze so you can see the multistep processes for my surfaces.
Step 1: picking the right tools for carving
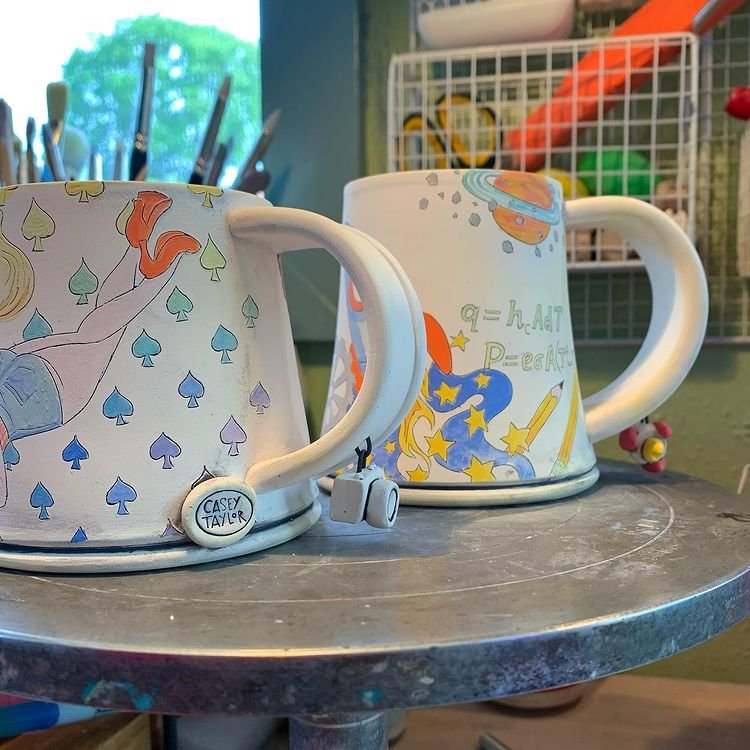
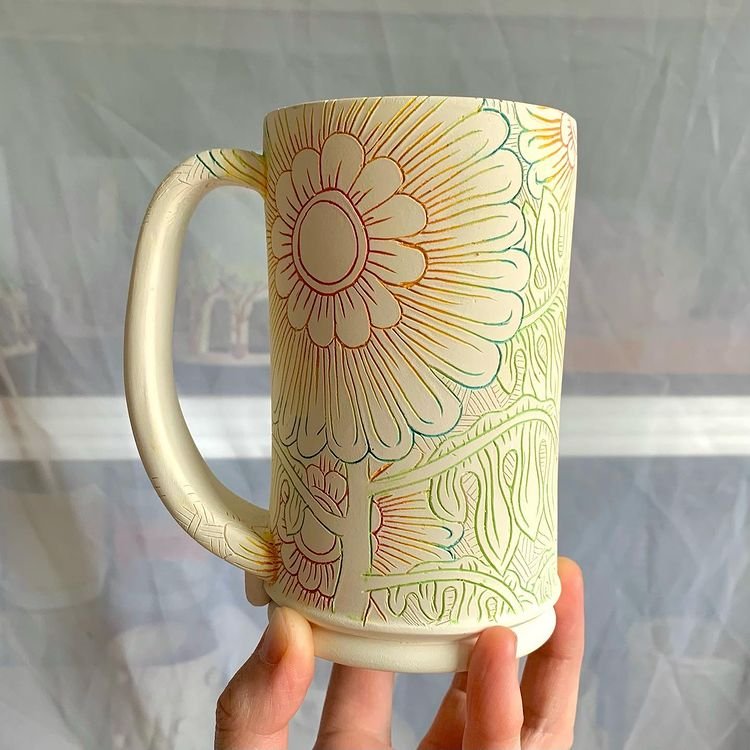
Step 2: illustrating your surface and adding colored clay in greenware
Step 3: preparing your surface for color, and creating definition with inlay
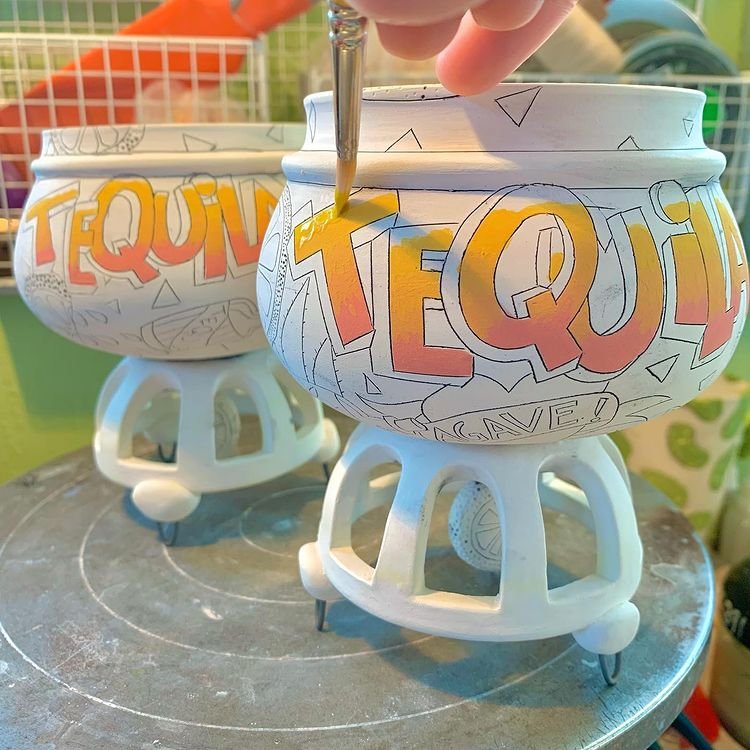
Step 4: adding color to your work
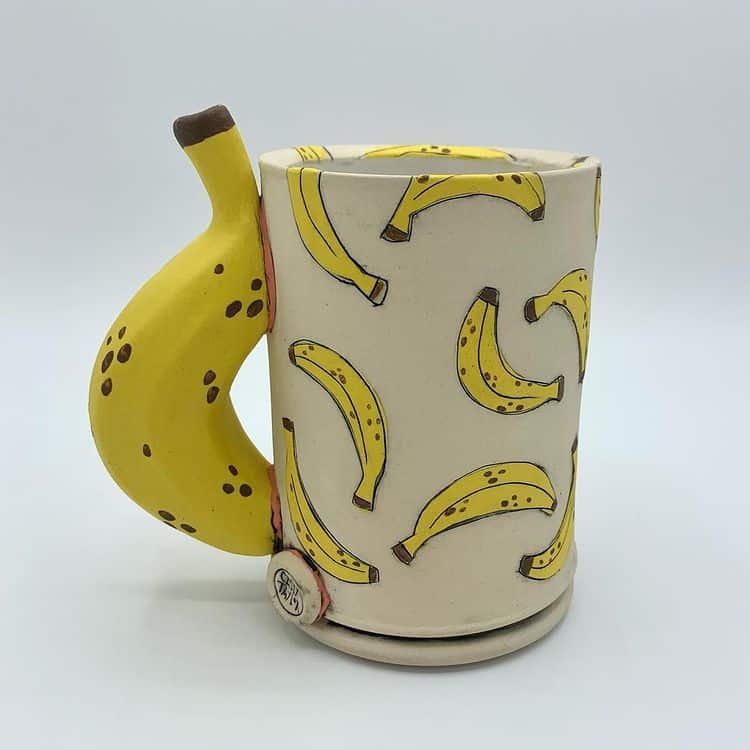
Step 5: admiring the finished product!
By the end of this workshop, you will have more illustrative techniques in your back pocket to bring your surfaces to life; as well as a new take on some familiar tools that can help widen your range of surface design!
Tools and equipment:
Pencil and paper
Water bucket:
We will be using this in our greenware and bisqueware stages- make sure you change the water between working in green and bisque!
Mudtools rib and sponge(s):
I prefer the white finishing mudsponge, orange absorbent mudsponge, and the shape 0 red polymer rib.
Wipe out tool(s):
If you already have an arsenal of wipe out tools, no need to acquire more for this class. But if you want a few extra, I recommend getting rubber tipped tools for polymer clay- Ive found they’re softer and erase mistakes a bit better. Not to mention they’re pretty budget friendly!
Various brushes:
We will primarily use acrylic/watercolor brushes as well as ink brushes.
needle tool(s):
I use both a traditional needle tool and one that I’ve made myself(optional) using a sewing pin epoxied to a dowel.
X-acto Knife:
It doesn’t have to be brand new, I actually prefer a blade that’s slightly dull. Since we will be carving with it for a while, you may want to wrap the handle in painter’s tape to prevent your hands from turning black from holding it.
Immersion blender for slip
Sanding pads in various grit from 60-220:
Diamondcore tools makes excellent sanding pads, but if you’re on a budget, you can order diamond polishing pads for various types of stone- they will have a thicker pad that they’re attached to which you can trim the width down with a small saw or a box cutter.
Materials:
Distilled water
Mason stain of your choice in color: The stains I’ve had good outcomes with in my clay (fired to cone 5/6) are-
6020 (manganese/alumina pink- fires to a light pink)
6319 (lavender)
6026 (lobster- fires to an orangey-pink in clay)
6376 (robin’s egg blue)
6254: (dark teal green- fires to a forest green)
6600: (black)
6306: (vivid blue- fires to a blue/purple)
Feel free to use a different stain for your white slip, just make sure to test first!
White clay (specifically for slip, but feel free to use any color of clay for your project)
Underglaze:
at least three colors of your choice!
To make beforehand:
Greenware: I will be using cups for my demonstration, but you’re welcome to use whatever shape of object you’re most comfortable working with!
Carved bisqueware: I will be showing you how I do my inlay and under-glazing in bisqueware, so you can get as detailed or experimental as you’d like with your carvings. They can range from test tiles to platters, but I recommend having at least two carved surfaces of at least 5 in. x 5 in. each.
Colored Slip: I will be using one color of slip for this class, but you’re welcome to bring more than one to work with! for my slip recipe, I take dried reclaim from my clay body (MCS porcelain from Tucker’s is what I primarily use) and I weigh 300 grams clay and aprox. 45 grams mason stain. I add distilled water until the consistency is that of acrylic paint out of the tube (bringing the batch to aprox 478 grams total)
Plastic or vinyl stencils:
If you don’t have a circuit cutter, you can cut your own stencils from vinyl or thicker flexible plastic using an X-acto knife or a pair of scissors. The plastic I make my stencils out of is from a thicker plastic bag- the bags that my mason stains come in from Bailey Pottery to be exact- (thicker than a garbage bag, but thin enough to still be flexible) I use a paint pen to draw out my designs on the plastic- you can also pre draw your design on paper and trace over it.
OPTIONAL:
custom needle tool(s):
If you’d like to make your own, you’ll need at least one sewing needle or pin, a pen-sized wooden dowel/pencil, and putty epoxy (which can be found in the plumbing section of your local hardware store) to attach the needle to one end. This will need to set for 24 hours before you use it.
You can also make a variety of sizes using different sewing needles!
When you buy this workshop, you get:
- Watch my Live Online Workshop
- The workshop is taking place on Sunday 24th October 2021 at 10 AM PDT, 1 PM EDT, 7 PM CEST.
- The workshop will be around 1 hour long.
- Bonus Q&A
- Join my bonus Live Q&A where I answer questions about my process face-to-face
- Lifetime Access to the Replays
- The workshop and the Q&A are recorded, and you will have lifetime access to it. You can watch it online, or download it to your device to watch offline at any time
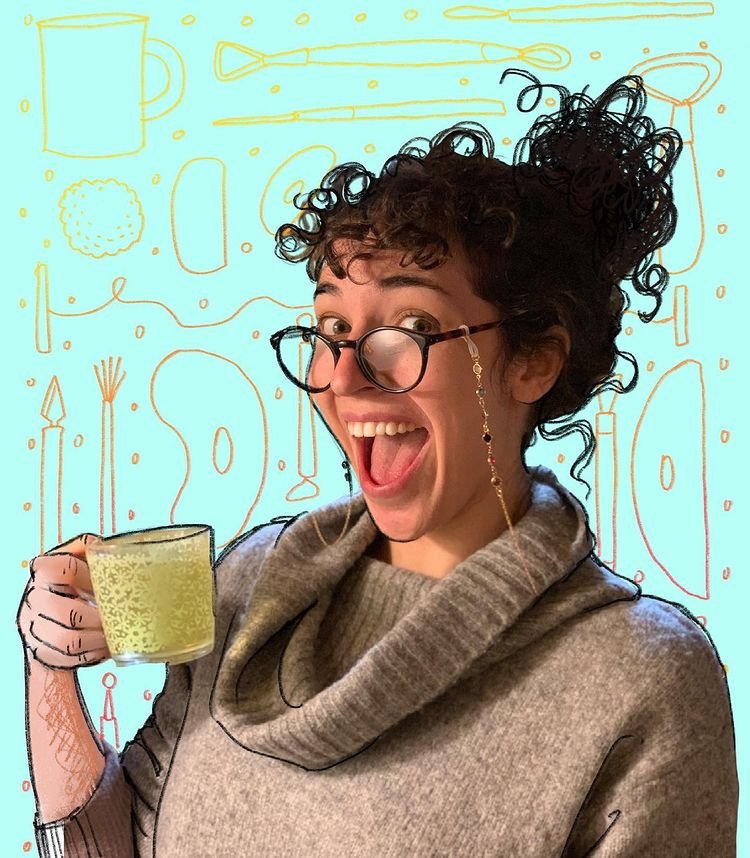
About Casey Taylor
Casey Taylor grew up in Washington state and in the Hudson Valley in New York. She came to ceramics after pursuing a career in illustration, but felt stifled by the limitations of a 2D medium. Casey went on to study Ceramics at SUNY New Paltz, and graduated with her BFA in 2015. Since then, she has worked to build her studio practice and is now a full-time artist working out of her home studio in Kingston NY. Her work is cartoony and fun- with influence from 90’s tv, retro fast food packaging, and mid century furniture.
Instagram: @caassey
- Instant Access.
- Lifetime Access when purchased separately.
- Price: $39