If you’re looking for a fun, easy, and customizable DIY project, air-dry clay buntings are a perfect choice! Whether you’re decorating for a party, adding a personal touch to a room, or just getting creative, these clay buntings are a great way to add a handmade charm to any space. In this blog post, I’ll guide you through the simple steps to create your own, from shaping and cutting the clay to personalizing them with paint or letters. It’s a versatile project that’s suitable for all skill levels, and the results are always unique!
What You’ll Need

Materials:
These are products I am using myself, however there are lots of other good options. When you buy through links on our site, we may earn an affiliate commission.
Step by Step
- Roll It Out: Roll the clay to about 1/4 inch thick, aiming for an even layer.
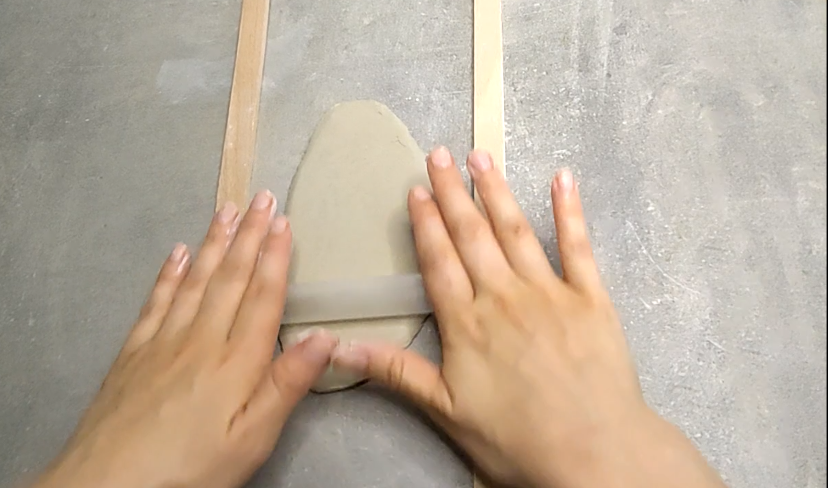
- Cut Your Shapes: Use a triangle template or ruler to cut out even triangles for your bunting.
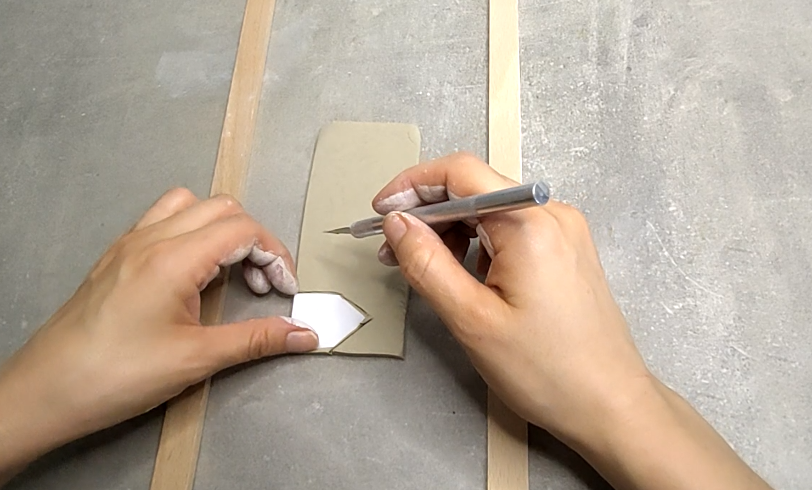
- Add Letters: Press alphabet cookie cutters or stamps into each triangle to spell out a name or word.
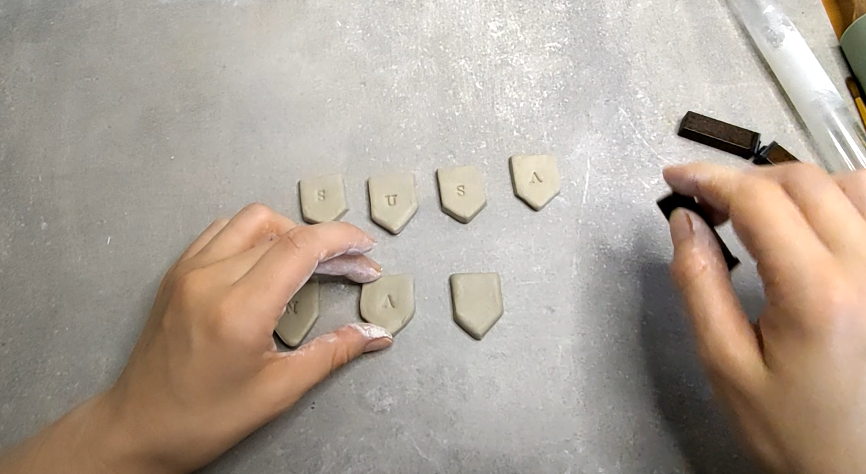
- Make Holes: Use a skewer or straw to create two holes at the top of each triangle for hanging.
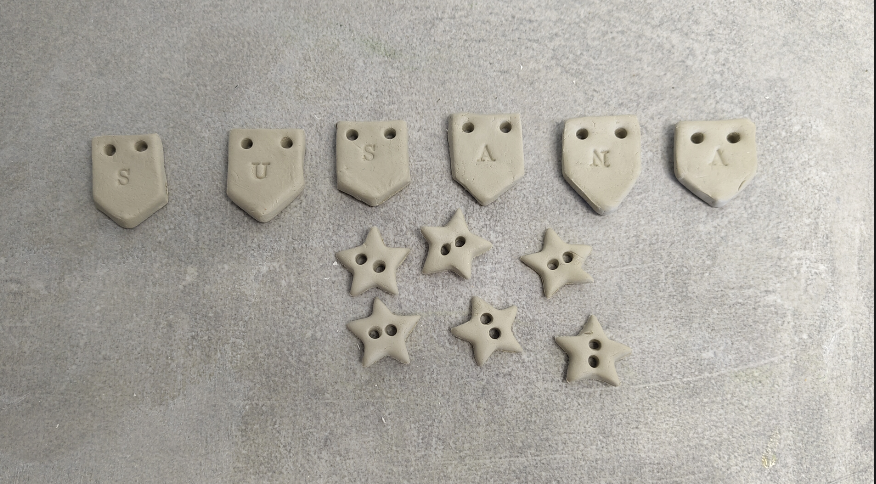
- Let It Dry: Lay the triangles flat and allow them to dry for 24-48 hours.
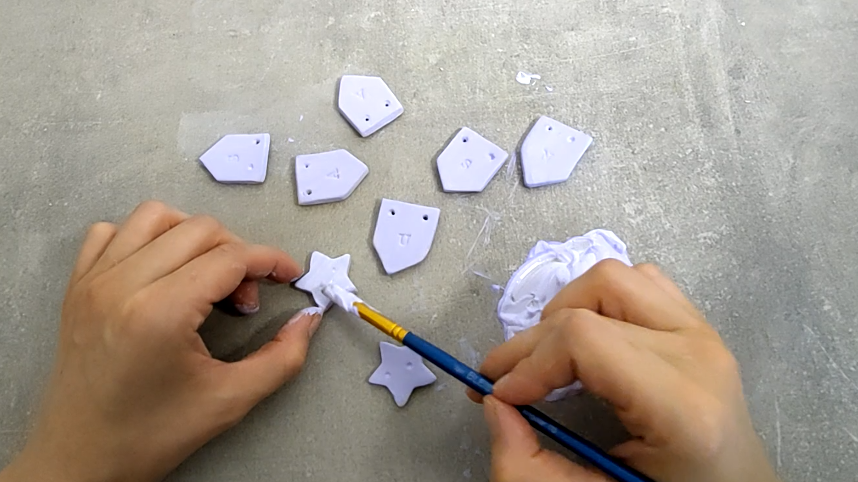
- Paint & Seal (Optional): Paint your triangles and add a clear seal for extra durability.
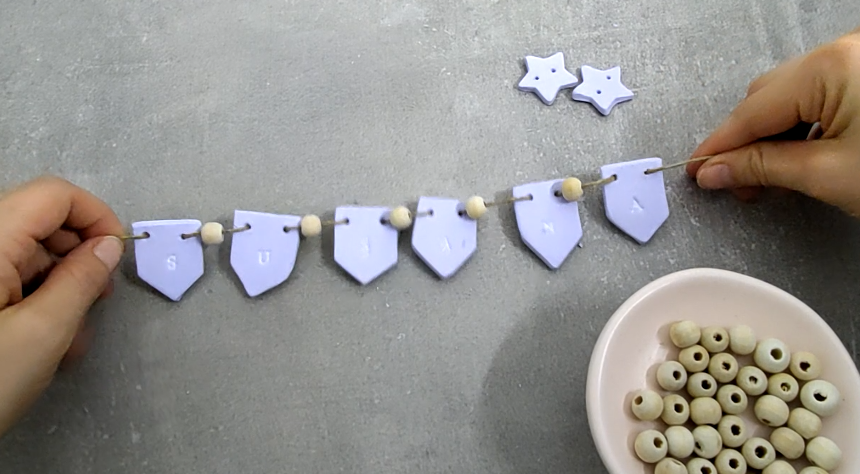
- String Your Bunting: Thread twine or ribbon through the holes and adjust the spacing.
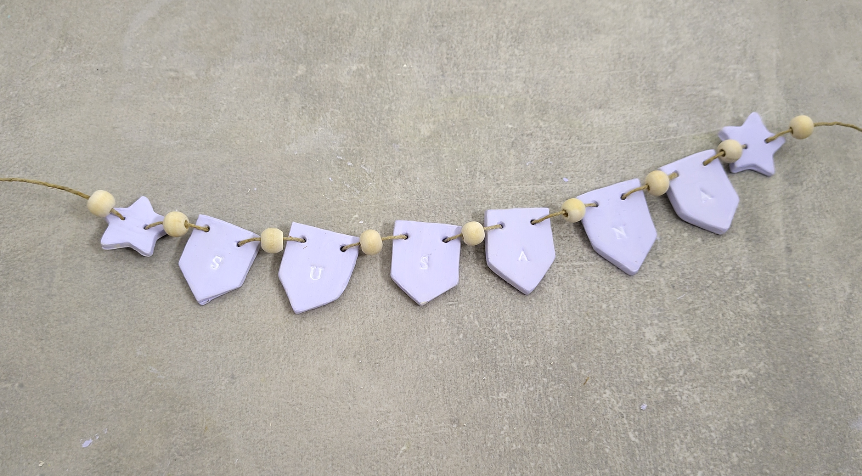
And that’s it! Your custom clay bunting is ready to hang!


Responses