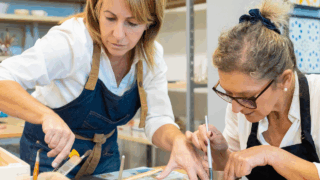
In this video, we see Julia Claire of JuliaClaireClay showing us how she applies her waterslide decals.
Julia Claire is a ceramic artist working at Odyssey Clayworks in Asheville, North Carolina. Her work focuses on darted forms, colorful decals, and mountain imagery.
Waterslide decals are ceramic decals that are specifically made to transfer images from paper to already glazed ceramics or glass.
The waterslide decal paper is special since it is a two-part paper that when exposed to water will lift up the film that holds the actual decal image.
The way you can add color to waterslide decals depends on what ink you are using. If you are just using a black and white laser printer with an ink that has high iron in it then you will get a sepia tone. In order to get colors though you will need access to a full colored printer that uses china paints or use a special method involving overglazes, silkscreen techniques, and polyurethane varnish to create your own waterslide decals.
Julia shows us in the video her placing the already cut out waterslide decals in the water, letting them sit for 30 to 60 seconds, and then sliding them off of the paper backings.
She then applies them to her clean glazed bowls and goes over the decals with a paper towel to remove the excess water. Removing the excess water and ensuring that there is no water underneath the decal is vital for ensuring a clean decal application. If you see bubbles or water under the decal then you should very gently, to ensure you do not rip the waterslide decal, use a paper towel or a sponge to drag out the excess.
Once they are applied and there is no water or air bubbles underneath the surface let them sit for 24 hours to completely dry out and stick well to your surface.
Once the 24 hours has passed you will place them in a kiln and fire them anywhere from 015 to 04. The firing cone will depend on what decal it is, how light or dark you want your decal to be, and how your kiln fires. If it is a colored waterslide decal then you’ll most likely fire it to cone 015 or so. If you’re firing a black and white waterslide decal it can be fired up to cone 04 to ensure the iron merges with the glaze well. If your kiln fires too hot then firing at a lower temp to ensure it does not over-fire and burn out the decal is a good idea.
To see the final version of these bowls check out the image below!
If you want to see more of Julia Claire’s work follow her on Instagram @juliaclaireclay


Responses