Decorating a nursery is such a fun experience, and handmade pieces add that personal touch you just can’t get from store-bought items. One adorable idea is a cloud-shaped wall hanger decorated with stars and a cute bear.
It’s easy to make, and it’ll be a lovely keepsake for years to come. Let’s dive into how you can create this sweet wall hanger with air dry clay!
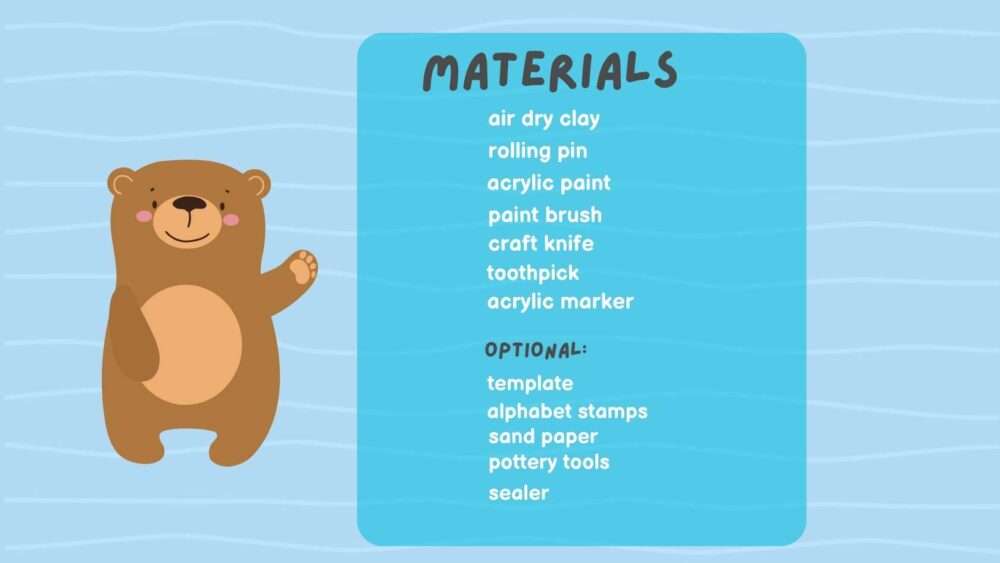
Materials list
Step-by-Step Instructions:
1. Set up your workspace on a clean, flat surface: Lay down some parchment paper or a silicone mat to prevent the clay from sticking.
2. Roll Out the Clay: Take a portion of the air dry clay and knead it until it’s soft and pliable. Using the rolling pin, roll out the clay to about 1/4 inch thickness. Make sure it’s evenly rolled out to avoid uneven drying.
3. Cut Out the Shapes: Use the template or cut freehand using a craft knife to create the cloud, stars, moons and bears.
4. Create Holes for Hanging: Using a straw or a small tool, make holes at the bottom of the cloud where the stars will hang. Ensure they are evenly spaced.
Make a hole at the top of each star, moon and bear to thread the string or ribbon through for hanging. Additionally, make two holes at the top of the cloud for the main hanging string.
5. Optional: Add a little bear face onto the cloud.
6. Optional: Use alphabet stamps to write a name or a short message.
7. Smooth the Edges: Dip your fingers in a little water and smooth out the edges of all your clay shapes to give them a polished look.
8. Drying: Let all the clay pieces dry completely. This can take 24-48 hours depending on the thickness of your clay. Ensure they are on a flat surface to avoid warping.
9. Optional: Sand and Paint
Once the pieces are completely dry, lightly sand the edges to remove any rough spots. You can leave the clay in its natural color for a minimalist look or paint them with acrylic paints. Allow the paint to dry thoroughly.
10. Assemble the Wall Hanger: Cut pieces of string or ribbon to the desired lengths and attach the shapes to the cloud.
Finally, thread a longer piece of string or ribbon through the top holes of the cloud to create the main hanger.
Congratulations, your wallhanger is finished!


Responses