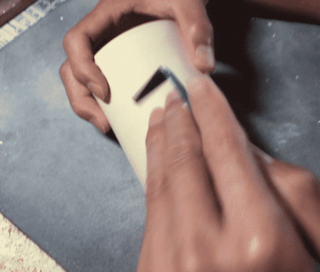
In this video, we see John Britt showing us how he creates a one piece lidded jar.
John Britt is a studio potter in Baskerville, North Carolina. John is a self-taught potter who has taught and worked extensively at many locations including at Penland School of Crafts. John is also the author of The Complete Guide to High-Fire Glazes and The Complete Guide to Midrange Glazes. John’s work focuses on experimentation with glazes in different ranges and colors.
This is another closed form technique and John starts off by placing the clay on the wheel and centering. He chooses the circumference that he wants for his jar and then quickly opens and checks the bottom of the piece to see how thick it is for trimming the bottom later. John points out that you need straight sides, but that the top needs to come in to close the cylinder. He pulls up and collars in the top and then says to collar in and close a form slowly to ensure the inside does not get twisted because of closing too fast. Once John has pulled up more of the clay and the form is almost closed he straightens the sides of the form using a straight rib. The reason why the sides are straight is because the flange will not fit if the sides are not straight. John pulls up and collars in the form more and then proceeds to close off the top of the form using a wooden tool. He points out that you should run your tool over the now closed top to smooth out and pinch off the excess clay that is there. After that John cleans up and smooths over the top and sides of the form using his metal rib and prepares to make the flange for the jar. Using either a flat wooden tool or other smaller pottery tools, such as the backside of a needle tool, he presses in halfway into the clay to create the flange and he recommends using water on the area beforehand to ensure there is no friction. To finish off the form on the wheel he takes a needle tool and pokes a little hole in the flange to allow air to be released from the inside of the form and prevent cracking.
After the flange is created and the hole has been made John will let this form sit and moves onto an already thrown form. He places this form, which is still attached to a bat, back on the wheel and cuts into the flange slowly with a needle tool. John holds his hands steady and lets the needle tool cut through the bottom of the flange until the top is released. Once the top is released John takes a trimming tool and cleans up the edges for the bottom of the jar and then places the lid on top upside down in order to trim the rim of the top as well. He bevels the lid a little so it will sit better on the bottom and then goes back to the bottom and trims away some excess from inside in order to have a really nice tight fit with the lid. After both the bottom and top rims have been cleaned up and trimmed he places them back together to clean up the edges where the two come in contact on the outside. To finish off his lidded jar he creates a small bird that can be placed on the lid in order to easily lift the lid off. You can also throw a knob on the lid of the jar as well if you don’t want to have an animal as the knob or handbuild other interesting knob designs as well.
To see more of John Britt’s work find him on Facebook as @JohnBrittPottery, YouTube as John Britt, and check out his website JohnBrittPottery.com.


Responses