A fun, sparkly craft for school holidays, rainy days, or anytime your little ones want to hatch their own dragons!
If your kids love fantasy, glitter, and hands-on fun, this air dry clay project is sure to be a hit. These magical dragon eggs are one of my kids’ all-time favorites — and the best part? With just a bit of help, even a 4-year-old can join in.
Here’s a simple step-by-step guide:
Materials you will need:
These are products I am using myself, however there are lots of other good options. When you buy through links on our site, we may earn an affiliate commission.
Step-by-Step Instructions
Step 1: Shape the Egg
Take a piece of aluminum foil and squish it into a rough egg shape. This will be the base and keep your egg nice and light and help it dry faster too!
Step 2: Cover with Clay
Roll out your air dry clay and wrap it around the foil egg. Make sure the clay layer is thick enough (about 0.5–1 cm) so you’ll have room to press in decorations later.
Smooth out any cracks or seams with damp fingers.
Step 3: Decorate Your Egg
Now the fun part! Use little gems, sequins, beads, or even bits of costume jewelry. Press them gently but firmly into the clay so they stay in place. You can create patterns or go full sparkle-mode — there’s no wrong way to decorate a dragon egg. The more you press them in, the better they’ll stick once dry.
Step 4: Let it Dry
Set your egg aside and let it dry completely. Thanks to the foil inside, this won’t take too long — usually 24–48 hours depending on the thickness of the clay.
Step 5: Add Magical Colors
Once dry, mix a little acrylic paint with water and lightly brush it over the egg. A thin layer of color adds depth while still letting the texture show through. Don’t use to much water or the clay will go soft.
Want extra magic? Brush on a bit of fine glitter while the paint is still wet, just be careful with younger kids (we all know how glitter spreads!).
Step 6: Seal It
To protect your egg and keep the sparkles in place, coat the whole egg in Mod Podge or another clear sealer. You can use a matte or glossy finish depending on the look you want.
That’s It! Now Wait for the Baby Dragon…
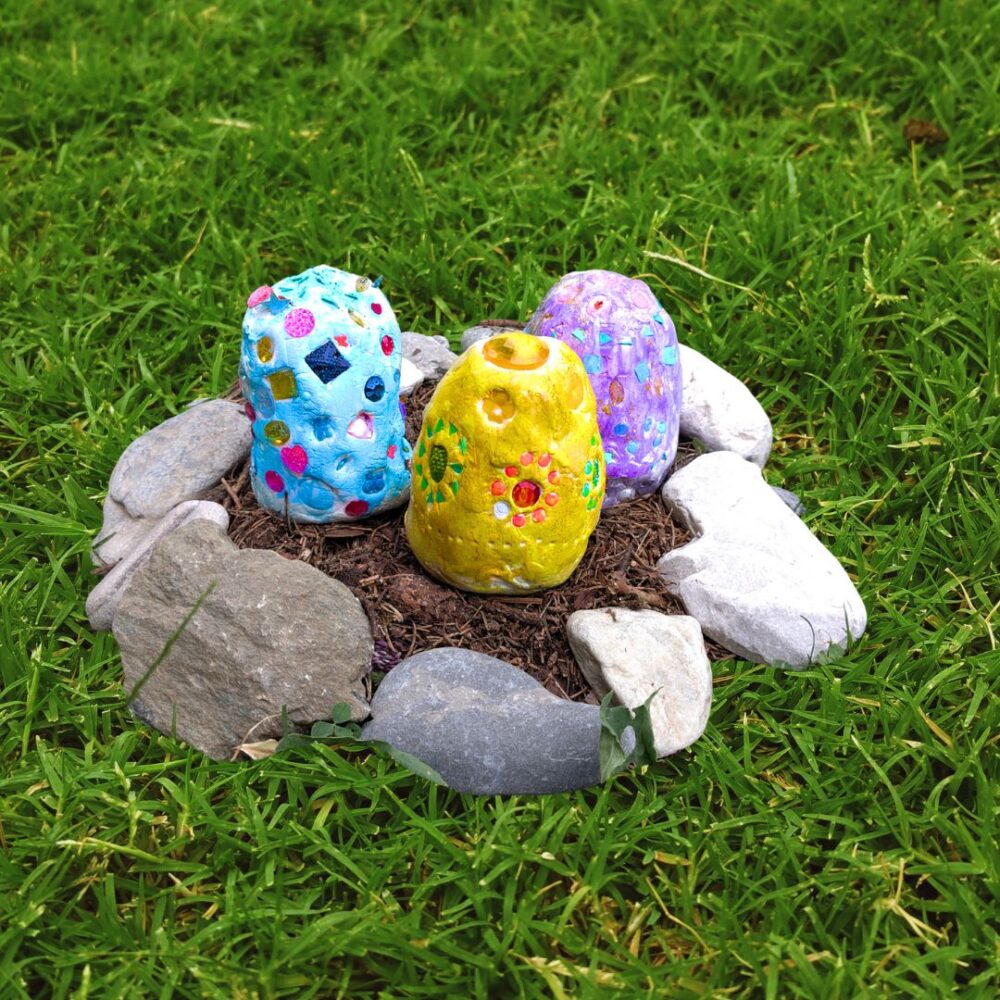
These eggs are all about imagination and play — there’s no need for perfection. We even built a little nest for ours, and now we’re patiently waiting to see if any baby dragons hatch.
Why We Love This Craft:
- Easy to adapt for any age
- Uses simple supplies
- Great for fantasy play
- Perfect for rainy days or holiday fun
- Encourages creativity — no two eggs look the same!


Responses