Materials Needed:
- Air-dry clay
- A rolling pin
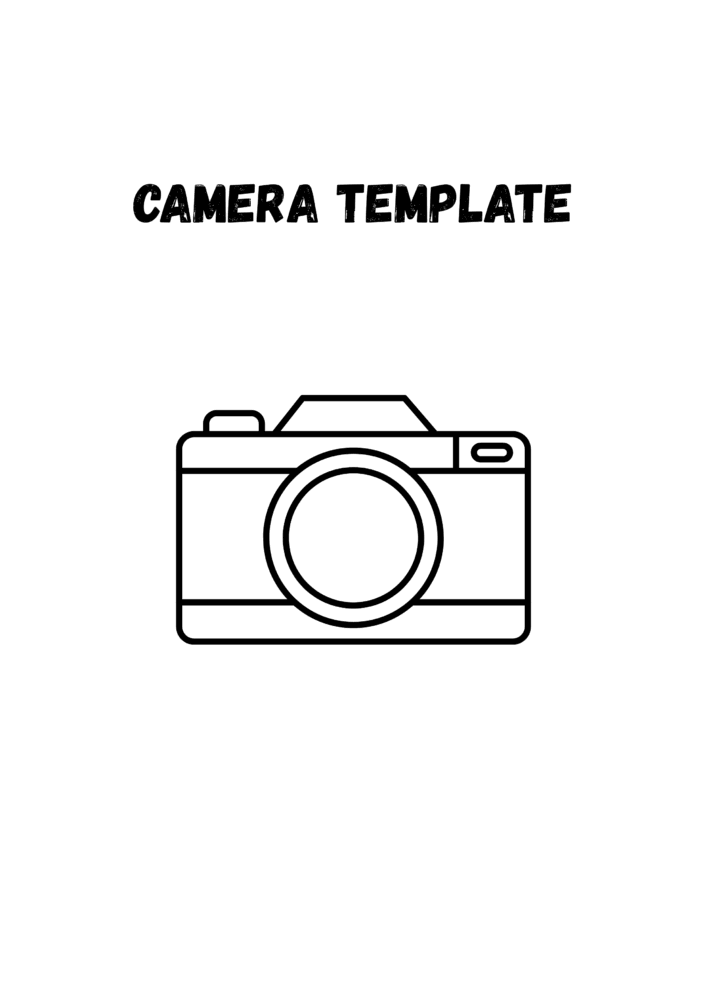
- Camera-shaped template
- A knife or clay tool
- Hole punch or straw
- Acrylic paint
- Acrylic Marker
- Clear sealer
- Small white paper (cut to fit inside your clay camera)
- String or yarn
- Paintbrushes
Steps:
- Roll Out the Clay:
Roll your air dry clay to about ¼ inch (0.5 cm) thickness on a flat surface. - Cut Out the Camera Shapes:
Use your camera-shaped template to cut out two shapes — one for the front and one for the back of the book. - Add Details:
Decorate the front piece with clay details like a lens, buttons, or flash. Use small tools or toothpicks to etch lines. - Punch Holes:
Use a hole puncher or straw to make 4 holes along one side of both clay pieces. Make sure they line up for binding. - Dry the Clay:
Let the pieces dry completely (usually 24–48 hours depending on thickness). - Paint and Seal:
Once dry, paint your clay cameras. Let the paint dry, then apply a clear sealer to protect the surface. - Prepare the Pages:
Cut small white papers to fit between the clay covers. Punch 4 matching holes in each sheet. - Assemble the Book:
Stack your pages between the two clay camera pieces. Thread string or yarn through the holes and tie securely.
Tips:
- Use strong, smooth string or waxed cord for easier threading.
- Add photos, drawings, or notes to your pages for a personal touch!
- Optional: Add a magnet or ribbon closure to keep it shut.


Responses