(The video above is an example of franca_nyc with a basketball attached to a bicycle inner tube.)
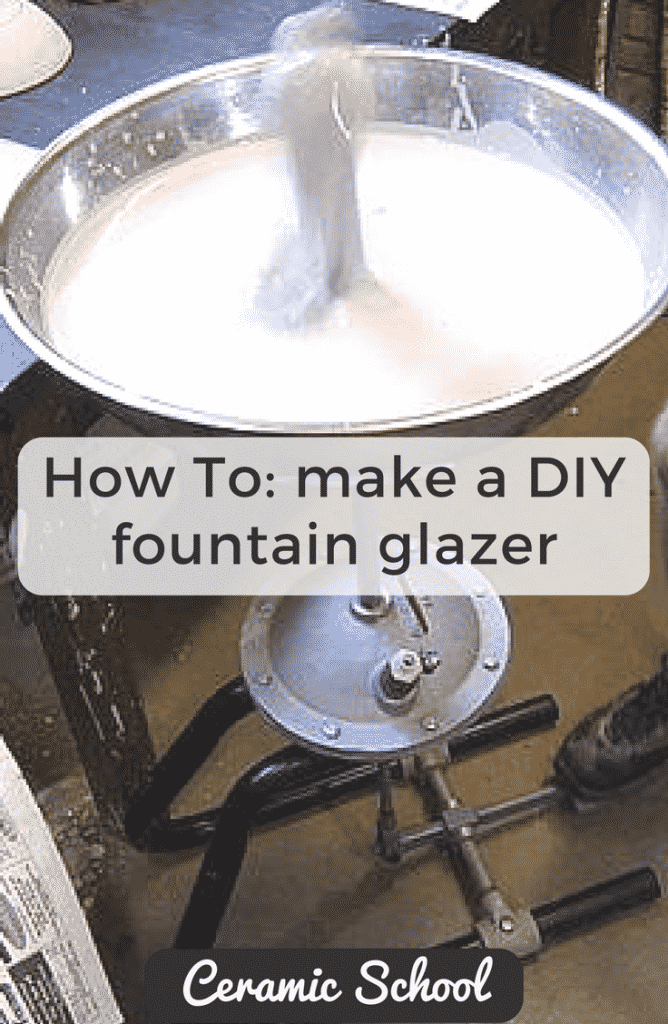
What is a Fountain Glazer?
A Fountain Glazer is a bowl full of glaze, with a pipe in the middle pointing upwards. A pump of some sort pushes the glaze up the pipe, and back down into the bowl. You place your mug, bowl, etc on top of the pipe, so that the glaze which is ejected out of the pipe fills up your work, and glazes the inside of it effectively.
The one in this picture uses a Diaphragm Pump, which can come in manual or electric versions.
You can make your own very simple Fountain Glazer at home, by using the following components 🙂
Manual Fountain Glazer
Attach the one way valve to your bike / foot pump, so that the air can come out of the pump, but does not go back into the pump.
Attach the other end of the one way valve to the PVC pipe.
You should now have a foot pump, attached to the one way valve, attached to the PVC pipe.
Drill a hole in your mixing bowl, the same diameter as your PVC Pipe, and place your PVC pipe though it. You can either set the pipe so that it only slightly protrudes into the mixing bowl, or you can make it higher up – but then you will have to drill some holes in the side of the pipe near the base of the mixing bowl – to allow the glaze to flow in. Seal it up to make the connection water tight.
You should now have a mixing bowl, a PVC pipe coming through, down below a one-way-valve connected to a pump.
Fill up the mixing bowl with glaze, some of which will enter the PVC pipe up to the one-way-valve, and off you go. When you push down on the pump, the air will go into the PVC pipe and push up your glaze.
To clean up, simply detach the one-way-valve from the pump, and wash the PVC pipe and mixing bowl together.
Electric Fountain Glazer
Simply wire up the submersible pump to the on / off foot pedal switch. This allows you to use your foot to turn on the submersible pump. Place the pump in the stainless steel mixing bowl, pointing upwards.
Next, fill up the stainless steel mixing bowl with your glaze, and place your ceramics over the pump, so that the glaze that comes out of the pump will be inside your work.
Simply push your foot down to turn on the power supply to the submersible pump, and off you go!
Advantages: It is less physical work, as you don’t have to actively step on the pump several times like you would do with a manual pump.
Disadvantages – you have to remove your submersible pump and clean it thoroughly when done. You might have to get a variable speed control foot switch to control the power of the pump.
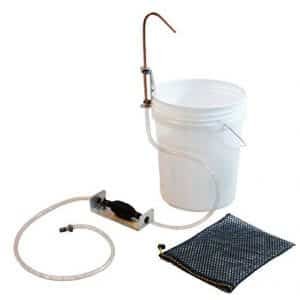 Another option would be to get something like one of these hand free washing stations that clips effortlessly onto a bucket.
Simply put one end into the bucket of glaze, step on the pump, and the glaze gets pumped through the copper pipe.
We would suggest you find one that allows you to easily change the direction of the pipe, easy to disassemble, and easy to clean.
Anyway, there are loads of different ways you can make your own setup to easily glaze the insides of your pots, and this is just a general guide. So go out and create your own system that works for you!
Some other handy glazing tools:
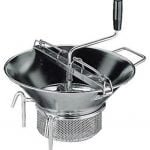 This Paderno World Cuisine Sieve for 8-Quart Stainless Steel Food Mill with 1/32-Inch Perforations. Perfect for sieving your glazes.




Responses