Today, we’re going to make a super fun and easy crocodile-shaped paintbrush holder using air dry clay. This little crocodile makes painting time more exciting while helping you stay organized. It keeps your brushes from rolling off the table and getting messy, which means less cleanup for you. Plus, it’s like having your very own art buddy watching over your tools while you create. It’s the perfect mix of fun and function for any young artist!
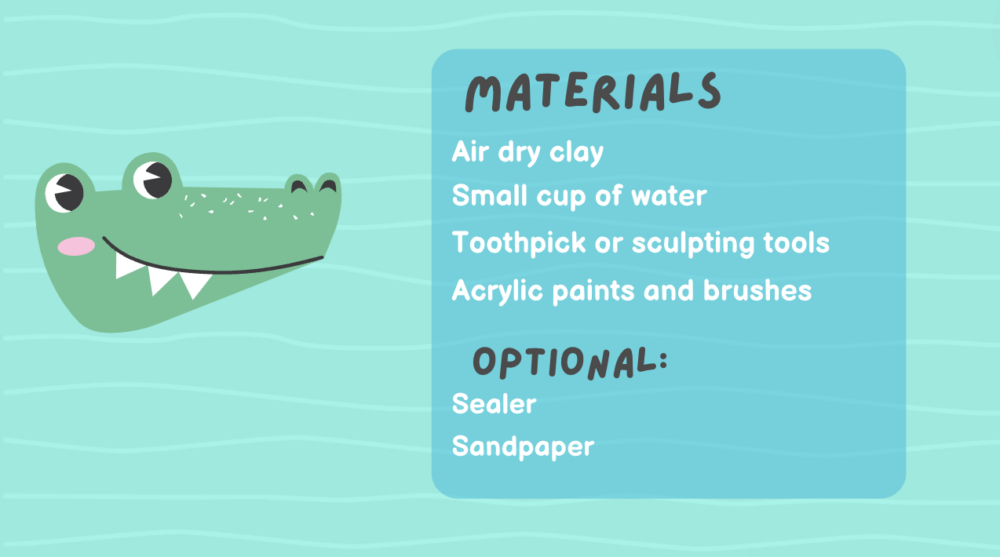
Materials list:
These are products I am using myself, however there are lots of other good options. When you buy through links on our site, we may earn an affiliate commission.
| Item | Link |
|---|---|
| Air Dry Clay | Check price on Amazon |
| Acrylic Paint | Check price on Amazon |
| Pottery Tools | Check price on Amazon |
| Mod Podge Sealer | Check price on Amazon |
Step-by-Step Instructions:
1. Preparing the Pieces
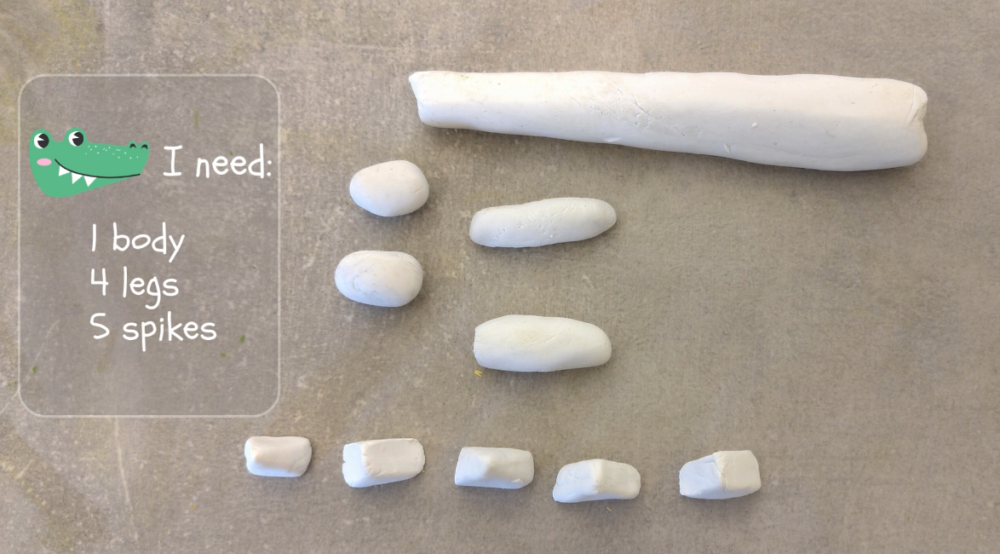
First, gather all the clay pieces you’ll need.
You’ll need the body of the crocodile, four legs, and five spikes.
Take a chunk of clay and squish it in your hands until it’s soft and easy to shape. Make a long oval shape – this will be the crocodile’s body.
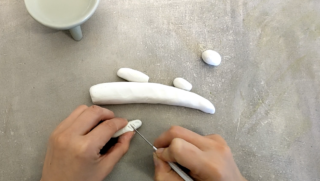
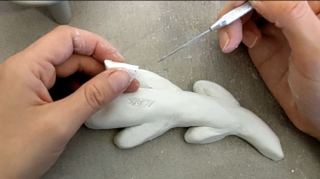
2. Attaching the Legs
Take the body piece and place it on a flat surface. Position each leg at the corners of the body. Gently press each leg into place. However another option is to slip and score the pieces together. Scoring is when you make tiny scratches on the surfaces of two pieces you want to stick together.! When you score both surfaces and add a little water, it helps the clay pieces hold on to each other better. Make sure the legs are secure by smoothing the clay around the joints where they meet the body.
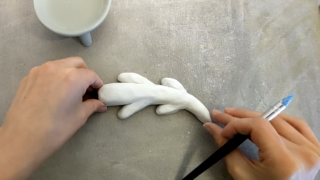
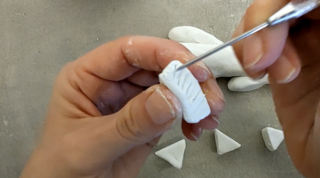
3. Adding the Spikes
Next, it’s time to give your crocodile some spikes!
Starting from the back of the head, press each spike gently into the body, spacing them evenly along the back towards the tail. Ideally you use again the scoring method. These spikes will add a fun, fierce look to your crocodile.
4. Drying
Once you’re happy with your crocodile, let it dry completely. Depending on the thickness of your clay, this could take 24-48 hours.

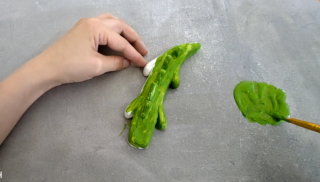
5. Painting
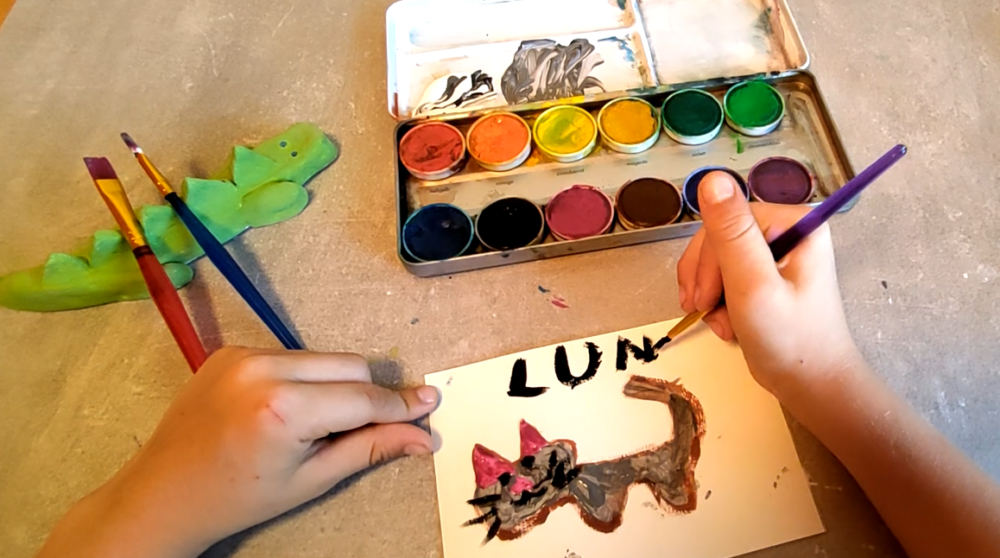
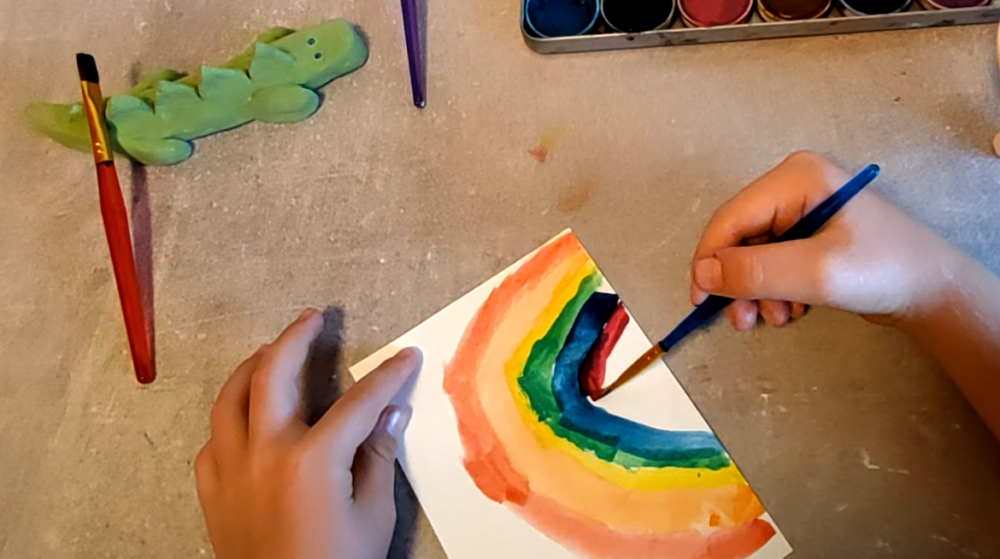
Once dry, it’s time to paint! Choose your favorite colors and bring your crocodile to life. You can go for a realistic look with greens and browns or get creative with bright, fun colors.
6. Optional add Sealer
Sealers can make the colors pop and your details stand out. Air-dry clay can absorb water, which might cause your project to become soft or even fall apart. A sealer keeps water out, so your creation stays strong and dry. However air dry clay projects are not completely waterproof!

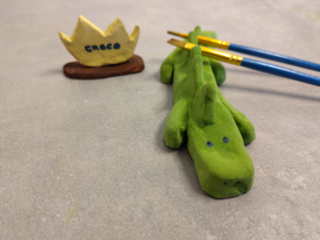
Now your crocodile paintbrush holder is ready to use!
I hope you enjoyed this fun and easy craft project. Making a crocodile paintbrush holder is a great way to spend time creatively and keep your art supplies organized. If you tried this project, I’d love to see your creations! Share them with us in the comments below or tag us on social media.


Responses