Air-dry clay is one of those magical materials that can turn the simplest idea into something adorable. Today’s project is as whimsical as it is easy: a little snail made from clay, complete with a real snail shell as its home. This is a fun craft for kids and adults alike, and each one turns out with its own personality.
What You’ll Need
- Air-dry clay
- A real, clean snail shell (you can find empty ones in the garden or forrest)
- your fingers
- Acrylic paints & brushes
Step 1: Shape the Snail Body
Take a piece of air-dry clay and roll it into a small log shape. One end will be the head, so you can pinch it slightly upward.
Step 2: Add the Shell
Before the clay dries, gently press your snail shell onto the body’s back. Push just enough so it feels secure, but not so hard that you break the shell. You can smooth the clay around the base of the shell to help it “sit” naturally.
Step 3: Let it Dry
Place your snail somewhere safe and let it dry completely. Depending on the size, this can take 24–48 hours.
Step 4: Paint & Decorate
Once the clay is fully dry, it’s time to bring your snail to life! Use acrylic paints to give the body a soft, natural look, or go wild with fun, bright colors. You can add little details like rosy cheeks, spots, or even glitter. Seal with a clear varnish (I used resin) )if you want extra shine and durability.
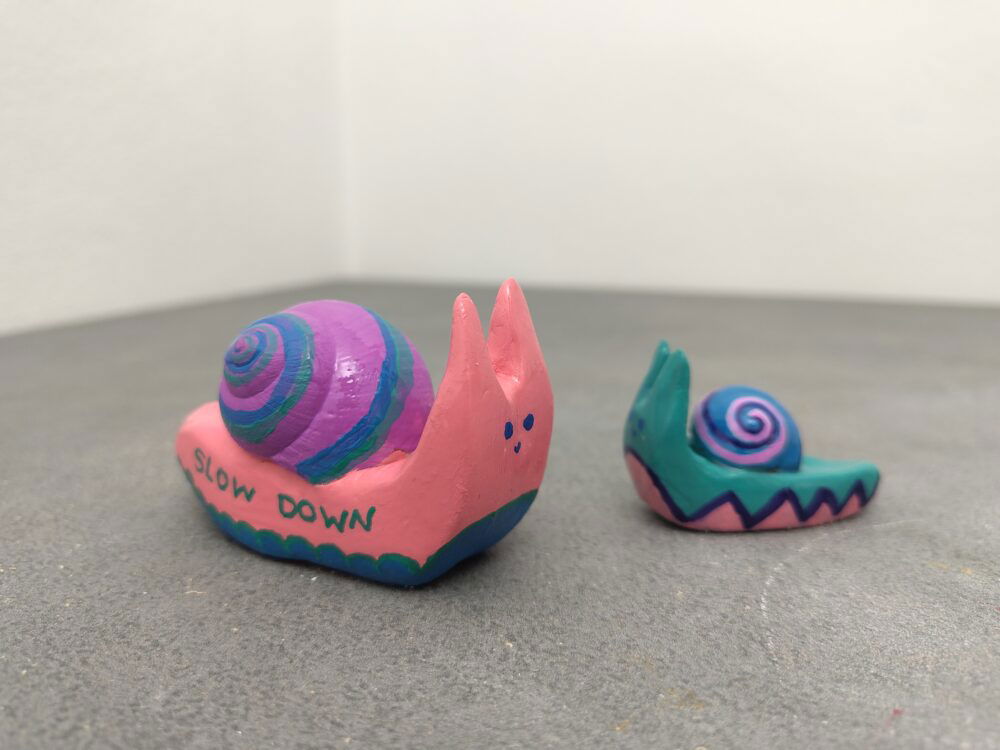
Finished Snail
That’s it — your little clay snail is done! Each one turns out completely unique, depending on the shell and the way you shape the body. They make sweet decorations for plant pots, shelves, or even as gifts for garden lovers.


Responses