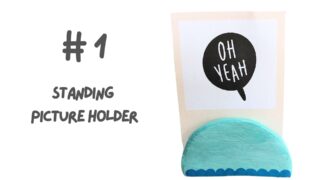
Looking for a creative way to display your favorite photos? In this post, we’ll explore how to make three different types of photo holders using air-dry clay. These easy DIY projects are perfect for adding a personal touch to your space and make great handmade gifts too! Let’s get started!
What You’ll Need
Materials:
These are products I am using myself, however there are lots of other good options. When you buy through links on our site, we may earn an affiliate commission.
| Item | Link |
|---|---|
| Air Dry Clay | Check price on Amazon |
| Acrylic Paint | Check price on Amazon |
| Craft knife | Check price on Amazon |
| Mod Podge Sealer | Check price on Amazon |
| Acrylic Marker | Check price on Amazon |
| Paintbrush | Check price on Amazon |
| Rolling pin | Check price on Amazon |
| Optional: Sandpaper | Check price on Amazon |
| Templates | |
| Small cup of water |
Step by Step
Set Up: Find a clean, flat surface to work on.
Prep the Clay: Knead the air-dry clay until soft and smooth.
Roll It Out: Flatten the clay to your desired thickness using a rolling pin.
Cut the Shape: Cut out your base shape (circle, square, heart, etc.) using a craft knife.
Create the Slot: Make a small slit at the top for holding your photo.
Let It Dry: Allow the clay to air dry for 24-48 hours until fully hardened.
Smooth Edges (Optional): Sand any rough edges for a polished look.
Paint and Seal (Optional): Paint your holder with acrylics and seal it with varnish for a finished touch.
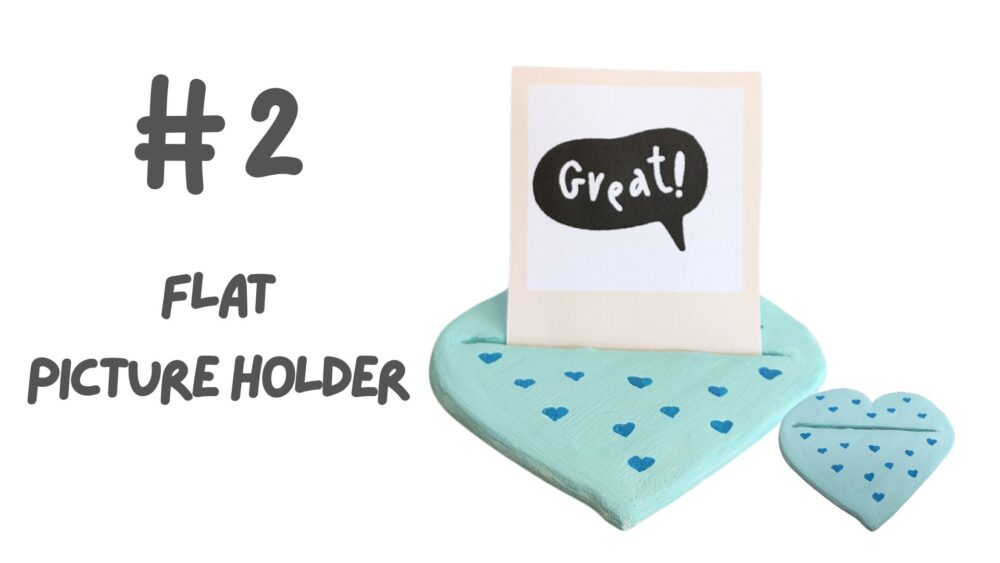
Prep the Clay: Knead your clay until soft, then roll it out to about 1/4 inch thick.
Shape It: Cut out a rectangle or square for the base. Add a shallow slot along the top edge to hold your photo.
Smooth and Dry: Smooth the edges and let it dry completely, about 24-48 hours.
Decorate (Optional): Paint and seal your holder for a polished finish.
Display: Once dry, slide in your favorite photo!
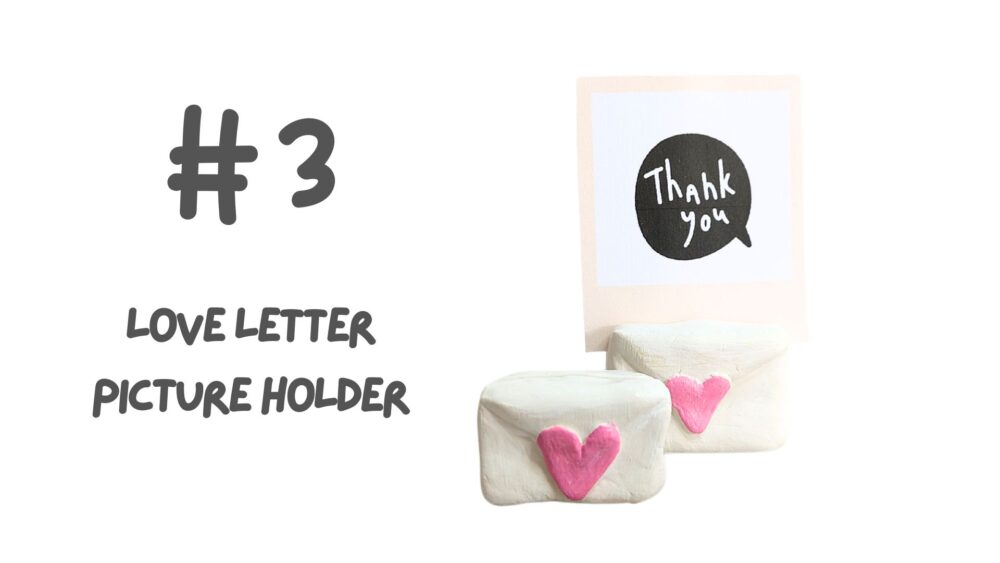
Prep the Clay: Start by kneading the clay until it’s soft. Roll it out to about 1/4 inch thick.
Shape the Base: Cut out a rectangle for the base of your holder.
Create the Envelope Flap: Cut out a triangle for the “envelope” flap and a heart and attach it to the top of the rectangle, giving it that classic love letter look.
Add a Slot: Gently cut a slot at the top of the rectangle to hold your photo.
Smooth and Dry: Smooth the edges and let everything dry completely for 24-48 hours.
Decorate (Optional): Paint your love letter holder and seal it for a finished look.
Display: Slide in your photo, and enjoy your adorable love letter photo holder!


Responses